How to Use a Dog Nail Clipper Without Hitting the Quick
Hold the paw steady, clip thin slices at a slight angle, and stop before the quick. This guide covers grip, dark nails, clipper styles and clipper vs grinder.
Dana Whitfield
October 16, 2026 · 8 min read
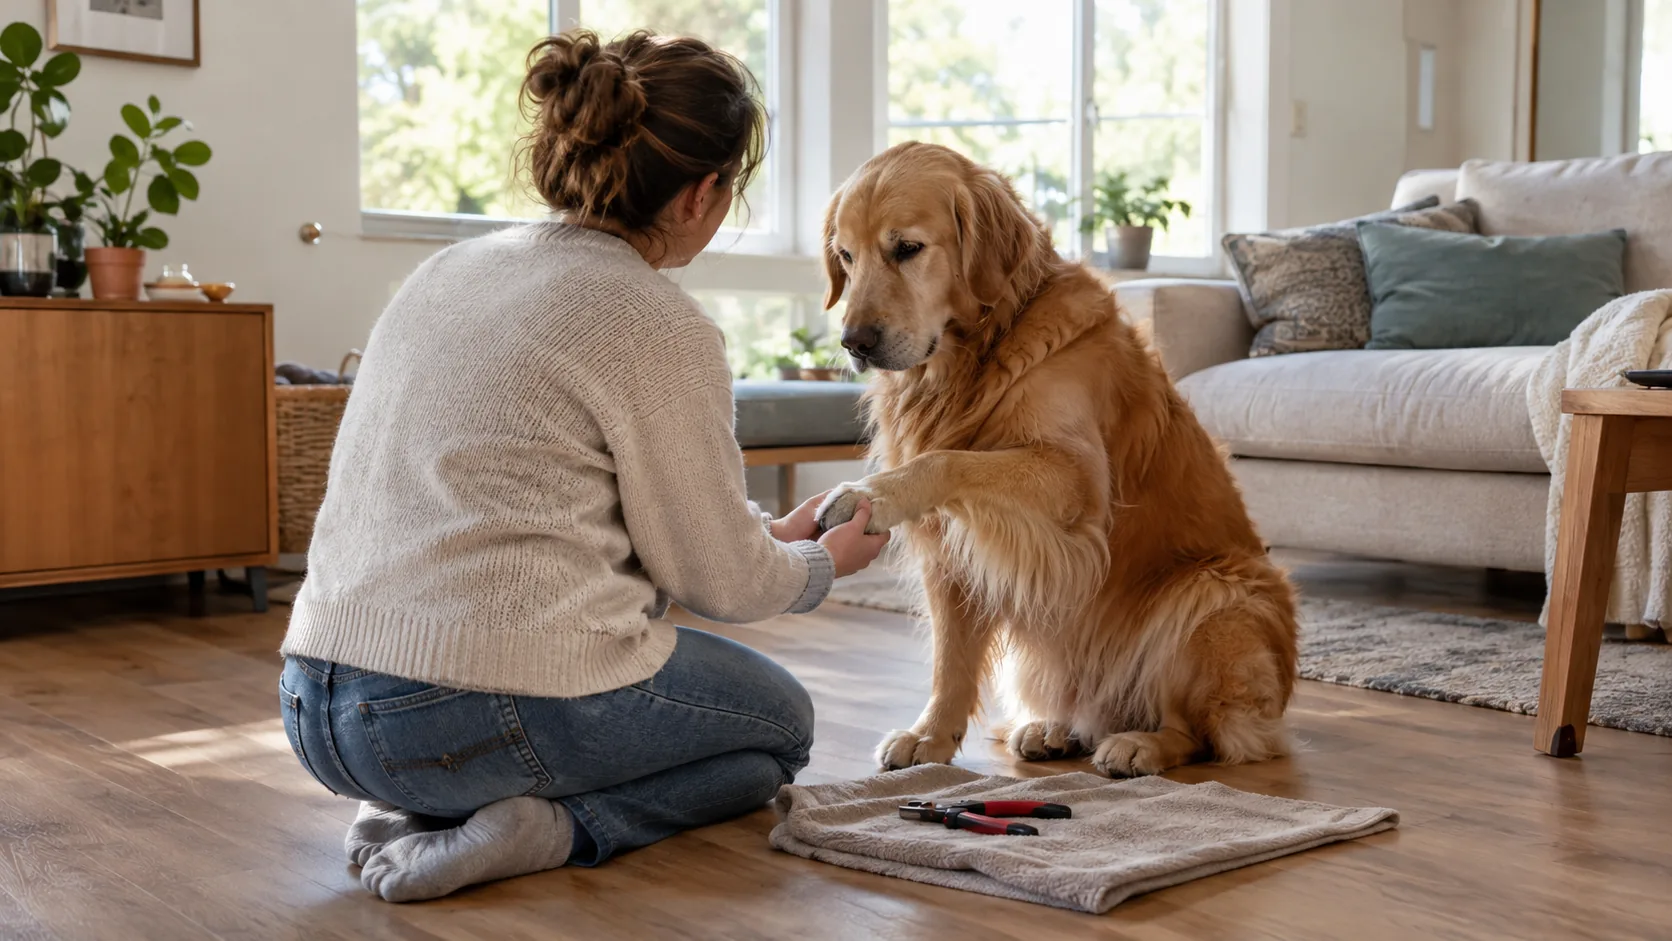
To learn how to use a dog nail clipper, hold the paw firmly but gently, set the blade across the nail just ahead of the quick, and squeeze once to remove a small slice. Work in thin slices instead of one big cut, and stop as soon as the cut face changes in texture or color. The steps below cover grip, cut angle, dark nails and the clipper style that suits your dog.
Prepare your setup and understand the quick
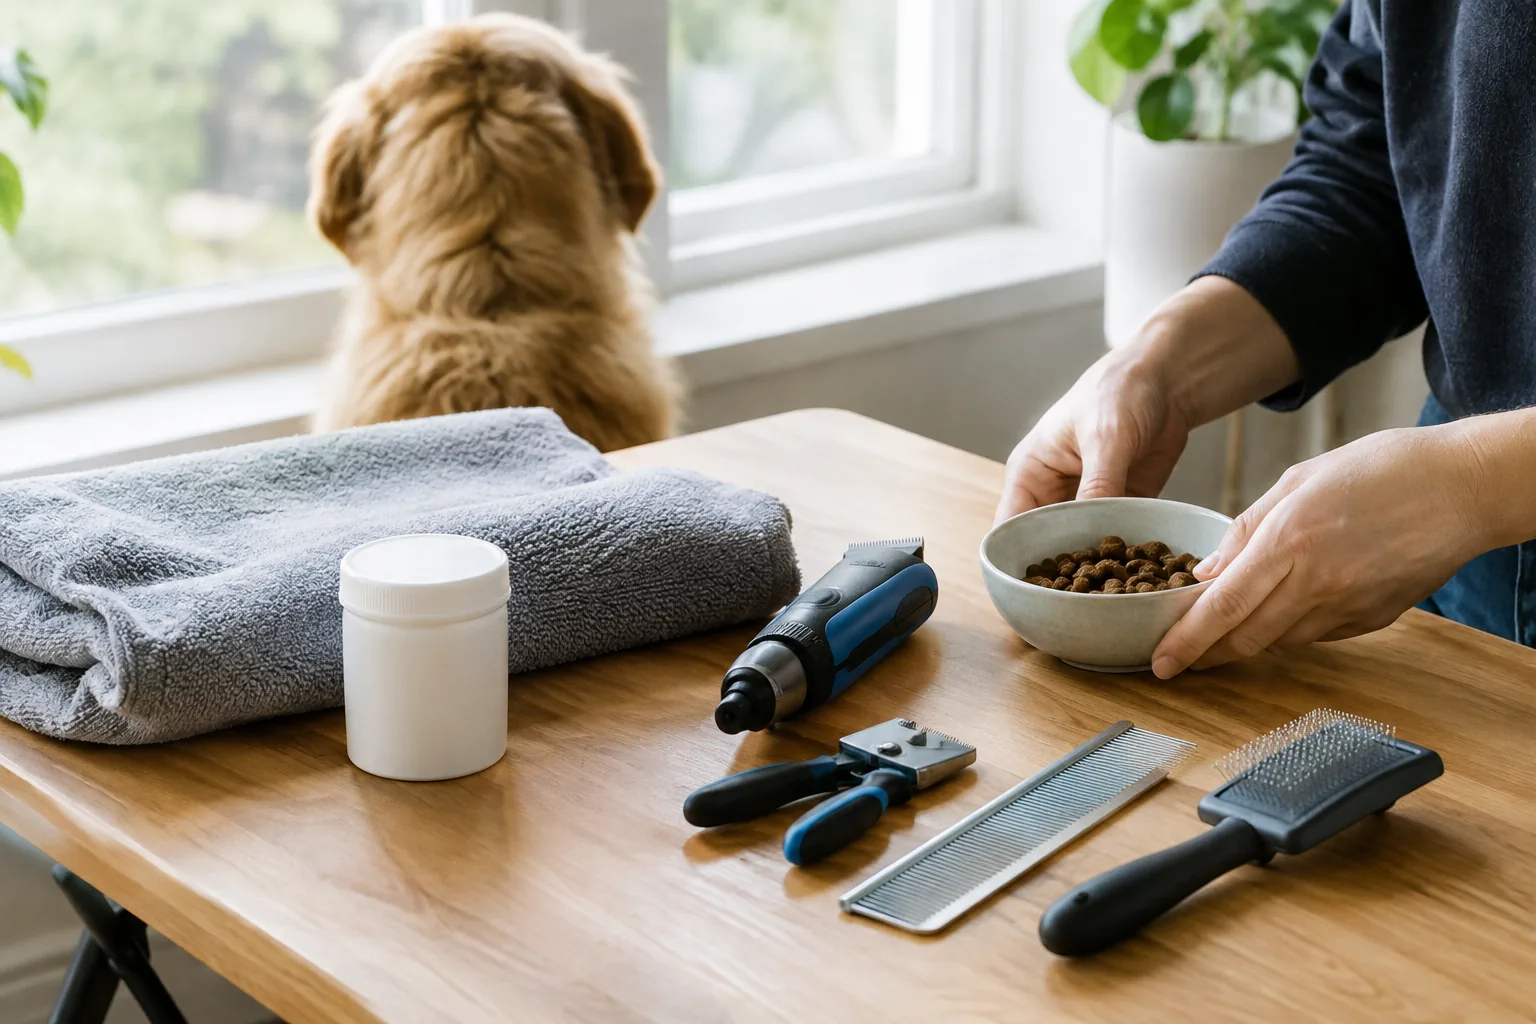
A calm dog and a good setup matter as much as the cutting. Get everything ready before you bring the dog over.
- Choose a spot with bright, even light and a non-slip surface.
- Keep small food rewards within reach.
- Have styptic powder or cornstarch nearby in case you clip too short, plus a clean cloth.
- Check that the blade closes cleanly and the handle moves smoothly.
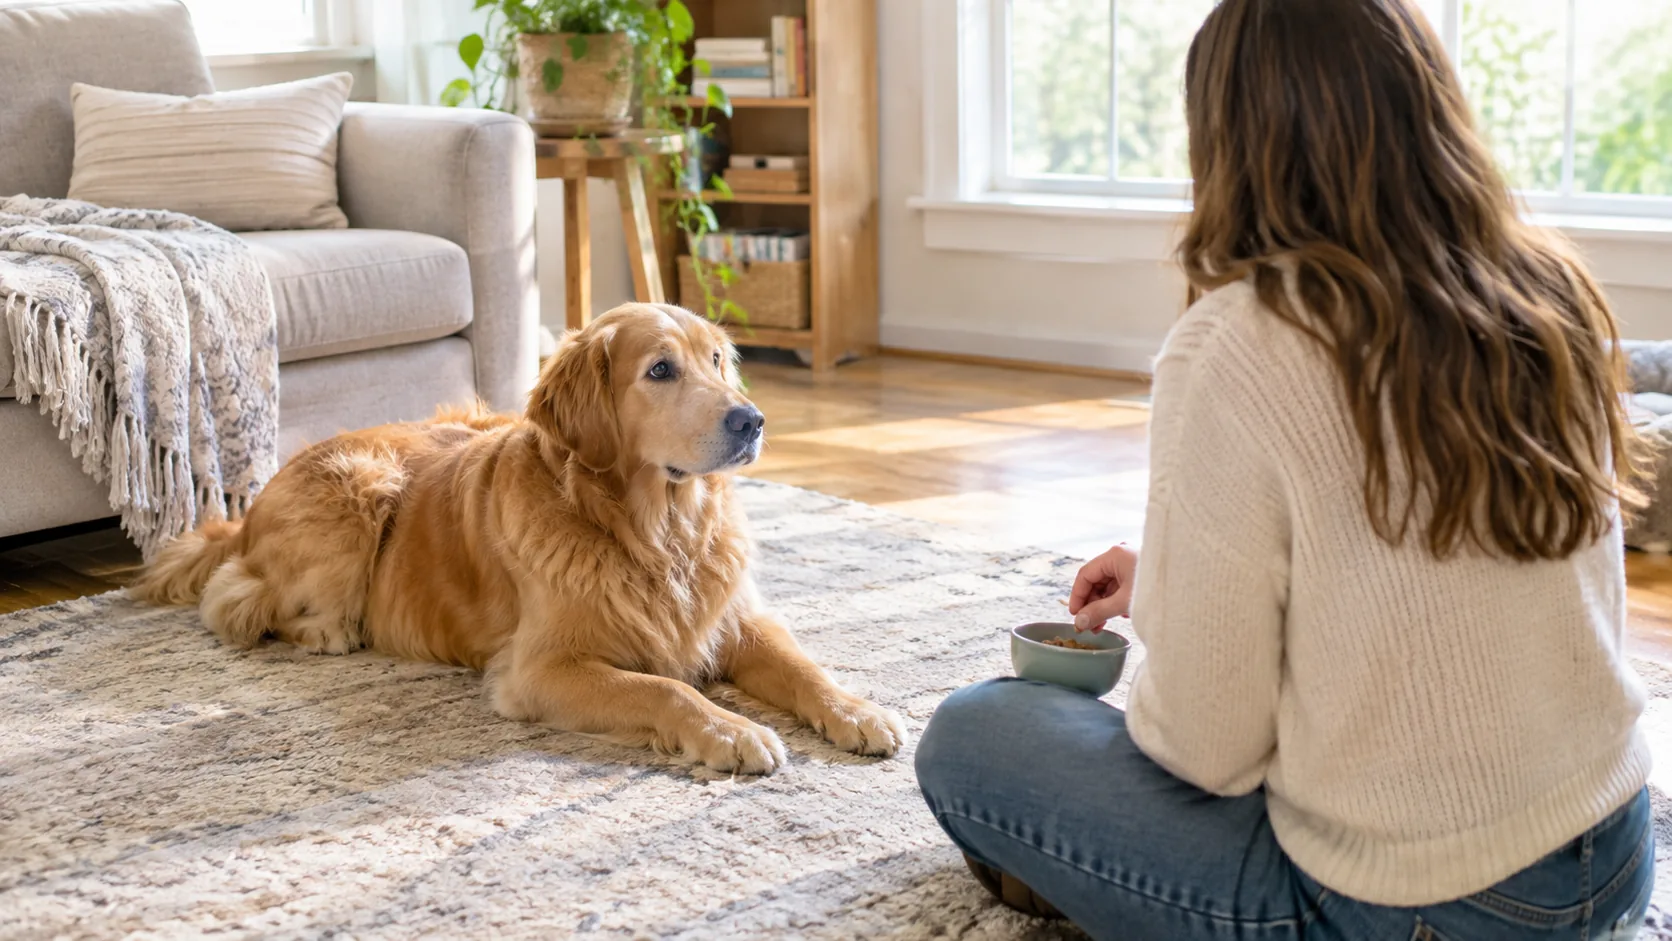
If your dog is wary of paw handling, spend several sessions just touching the paws and pairing it with rewards. Veterinary teaching hospitals and canine welfare programs describe the same gradual approach. The method in our pet vacuum grooming guide works for clippers too: show the tool, reward, put it away. Keep early sessions short and positive.
What the quick is
The quick is the living part inside the nail. It holds a blood vessel and nerve, so cutting into it causes bleeding and upsets the dog. On white or clear nails it shows as a pink core. On black nails it is hidden, so you rely on other cues.
The quick is longer in nails that have been left long. Ask your veterinarian how short to aim for with your dog.
How to hold a dog nail clipper and the paw
Your grip controls your accuracy. A steady paw and a comfortable clipper angle help you place each cut.
Clipper grip
- Hold the handle in your dominant hand with your palm wrapped around it, so the squeeze comes from the whole hand, not just the fingertips.
- Point the cutting head at the nail with the blade side facing you, so you can see where it will land.
- Rest your wrist on your knee or against the dog's leg for stability.
Paw grip
With your other hand, hold the paw with your thumb on top of the toe and your forefinger under the pad. Gently push to extend the nail. Do not squeeze the toe tightly, and keep the leg in its natural bending direction.
Body position
Small dogs can sit on a table or your lap. Larger dogs often do better standing or lying on their side on the floor. Pick the position that keeps your dog relaxed, and take breaks between paws.
How to use a dog nail clipper step by step
Trim from the tip and follow the natural curve. The blade should sit across the nail at a slight angle, matching the underside slope, so the finished tip is not blunt-flat or sharply pointed.
- Place the clipper so the blade is just ahead of where you expect the quick to start.
- Take off a very small slice of the tip first.
- Look at the cut face, then take another slice if needed.
- Stop when you see a small dark dot or a change from dry and chalky to slightly moist and gray-pink at the center.
- Smooth the edge with a dog nail file if it feels rough.
Do not forget the dewclaws. They sit higher on the leg, do not wear down on the ground and can grow long. Check them every session. Move fur away from the blades first so you do not trap skin or hair.
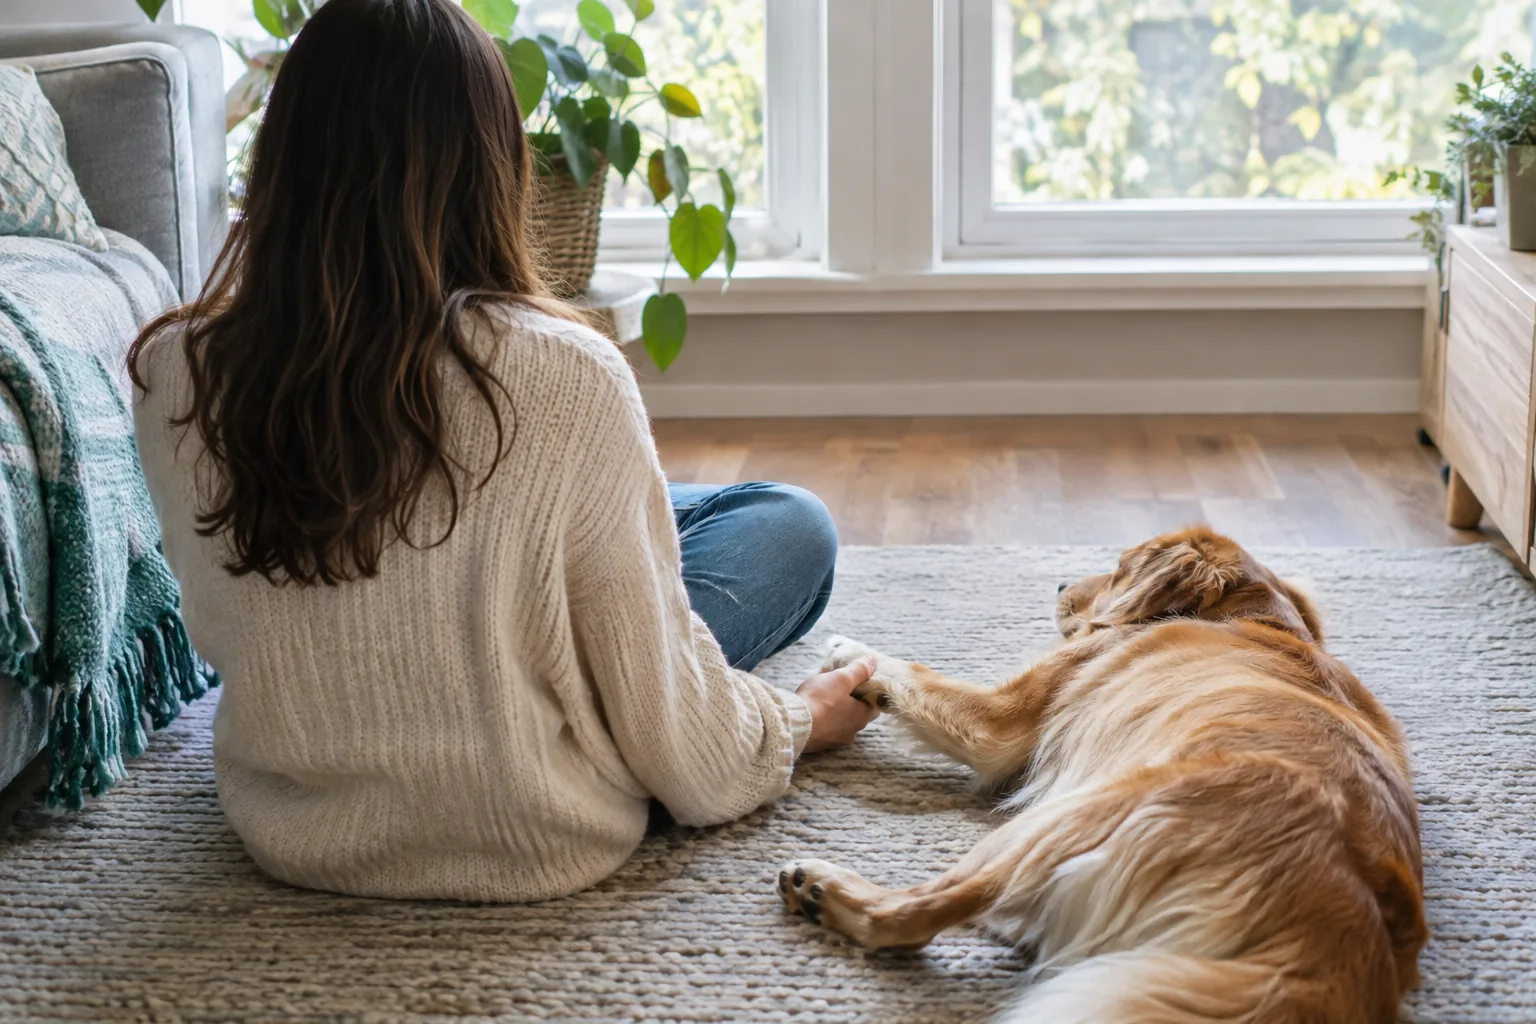
How to cut black or dark nails
Dark nails hide the quick, so combine several cues instead of guessing.
- Look from the underside. Turn the paw and look at the hollow groove under the nail. Where the groove ends and the nail becomes solid, the quick is close.
- Cut thin slices. After each slice, check the cut face. A white, dry ring means you have not reached the quick yet. A dark or gray-pink oval in the center means stop.
- Use side light. Shine a flashlight or bright lamp from the side; it may reveal the outline of the quick through thinner nails.
- Use a clear guard. A transparent guard lets you view the nail from the side while you line up the blade.
If you are looking for a dog nail clipper with light to see the quick, a bright lamp, a clear guard and small slices cover the same need.
Long or overgrown nails
For long, black nails, trim only the tip in one session and continue at the next one. Overgrown nails are usually shortened gradually over several sessions rather than all at once. Ask your veterinarian how short to go, and plan several light sessions instead of one long one.
Which clipper style fits your dog
The common hand-operated styles work differently. Use this table as a quick reference when choosing a nail clipper for a dog.
| Style | How it works | Fits | Watch for |
|---|---|---|---|
| Guillotine | Nail goes through a small hole; a blade slides across when you squeeze | Small to medium nails | Hole must match nail width; blade needs replacing when dull |
| Scissor (plier) type | Two curved blades close around the nail | Medium to large, thick nails | Blades can hide the nail from view |
| Clipper with guard | Guard surrounds the nail; adjustable opening | Mixed-size pets, beginners | Set the opening to the nail size first |
How to use a guillotine dog nail clipper
Open the blade and slide the nail through the hole with the cutting blade facing the tip side, stopping short of the quick. The fixed side of the ring should sit toward the paw. Squeeze in one smooth motion. Because you cannot always see the blade position, take thin slices.
How to use a dog nail clipper with guard
Set the opening to the nail size, place the guard around the nail, check the position through it, then squeeze. The guard lets you see the nail while you line up the blade.
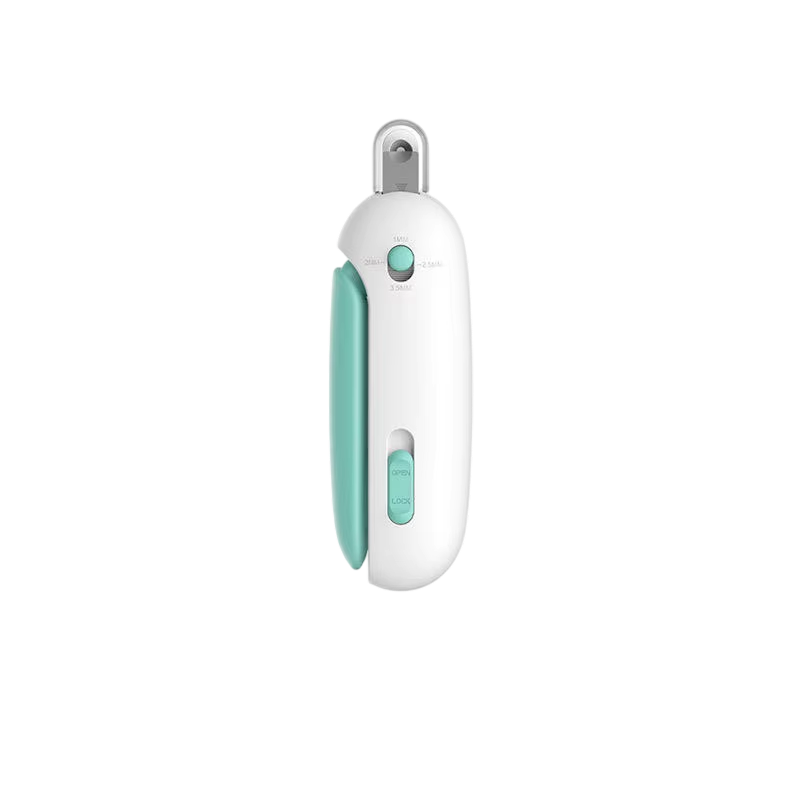 In this guidePreciTrim$69.99View
The PreciTrim is a hand-operated clipper built on this approach. It has an adjustable aperture dial for kitten claws through thicker large-breed nails, a clear guard so you can view the nail from the side, a curved non-slip grip for one-handed squeezing, and a nail file in the handle to smooth the cut edge. It comes with an illustrated instruction guide and a travel case.
Dog nail clipper vs grinder
Both tools shorten nails. The choice often comes down to your dog's temperament and your own comfort. A dog nail grinder vs clipper decision depends on the dog, not on one tool winning overall.
| Question | Clipper | Grinder |
|---|---|---|
| Noise and vibration | A click and pressure on the nail | Motor sound and vibration; needs gradual introduction |
| Control | One cut per squeeze | Short passes; you shave gradually |
| Finish | Edge may need filing | Tip is shaped as you grind |
| Dark nails | Rely on thin slices and cues | Gradual removal; an LED light helps you see the nail |
| Hair and dust | None | Long fur can wrap; dust is produced |
Should you cut or grind? Neither suits every dog. Dogs that dislike pressure on the nail may accept a dog nail grinder, while dogs that fear motor noise often do fine with a clipper. Some owners use a clipper for the bulk and a grinder to finish.
How to use a dog nail grinder with guard
A port or guard holds the nail at the right spot while the head spins. Pick the port that fits the nail, touch the nail briefly, and lift away often. Keep fur clear of the head, and do not hold it against one spot, because the nail and the head can warm from friction. Follow the manual for your model, and let the dog get used to the sound first.
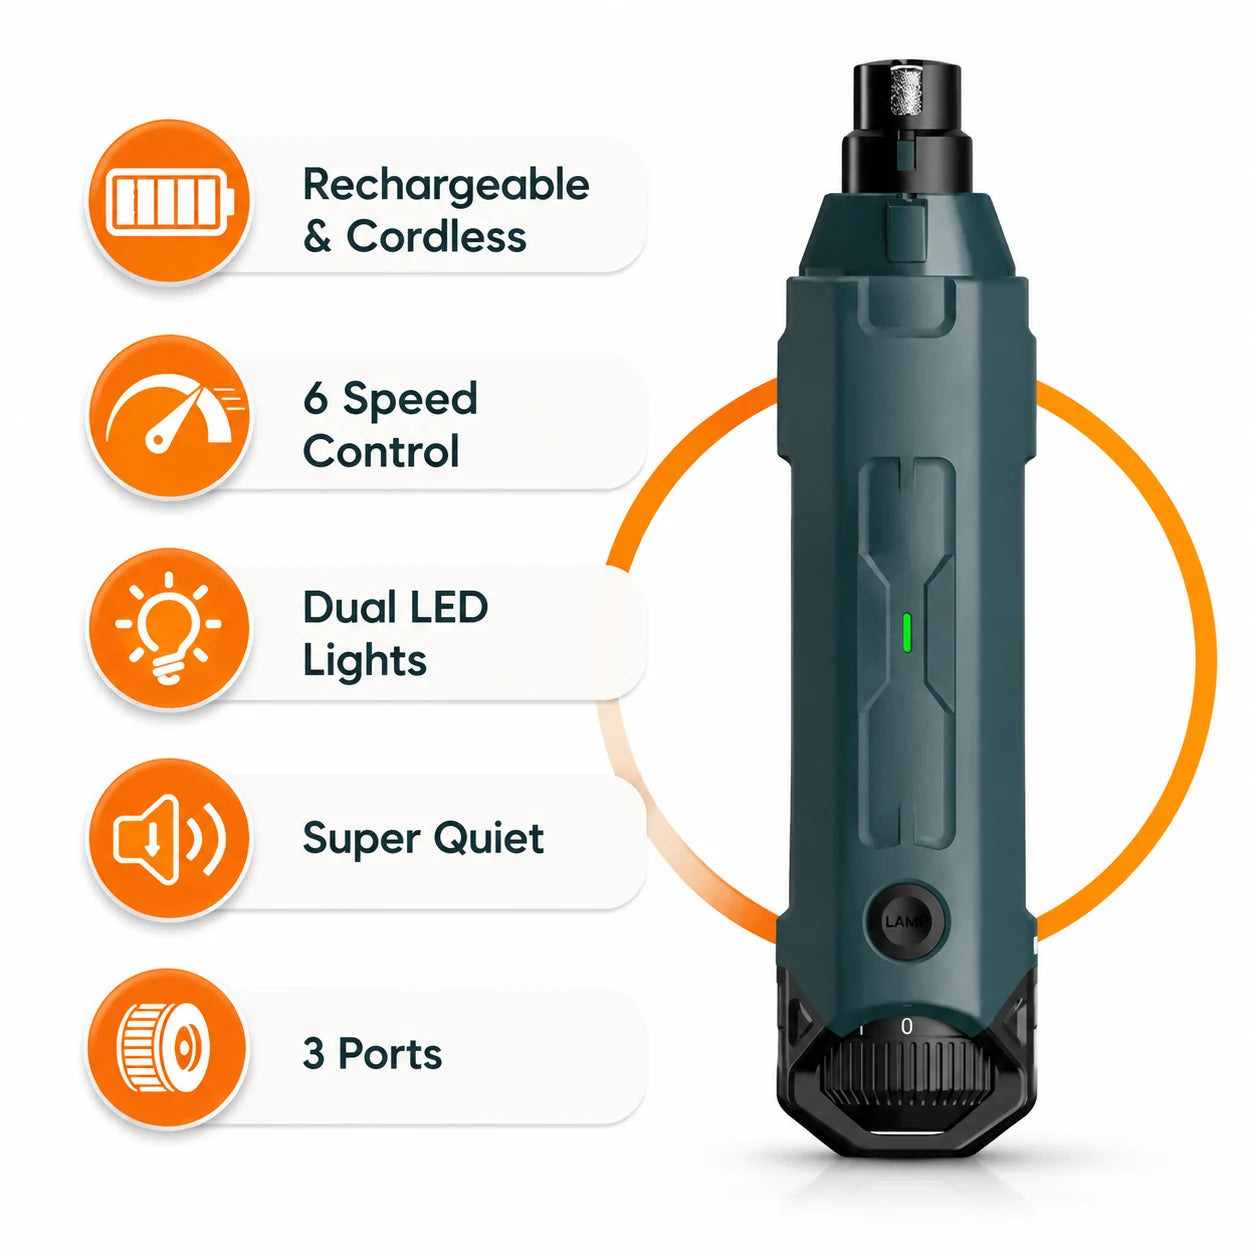 In this guidePawHush$89.99View
The PawHush is a rechargeable nail grinder for dogs with a diamond head, three ports (S, M and L), six speeds from 7,000 to 12,000 RPM, and dual LEDs that light the nail while you work. An included introduction card lays out a gradual plan: run it across the room, let your dog sniff and take treats, then move closer in stages and start with brief touches on a single nail.
Trim schedule, common mistakes and puppies
How often to trim
Check nails regularly. A common sign they are due is a clicking sound on hard floors. Nails that touch the ground when your dog stands on a flat surface are usually ready for a light trim.
Keep a simple routine: look at the nails, trim the tips, file or smooth, reward. Short, regular trims are the usual way to keep nails at a manageable length; your veterinarian can tell you the right length for your dog.
Common mistakes
- Cutting too much at once. Take thin slices so you can check the cut face after each one.
- Using the wrong opening size. Match the opening to the nail width so the nail sits steady and the blade lands where you planned.
- Skipping the dewclaws. Check them each session.
- Rushing a nervous dog. End on a calm note, even if only one paw is done.
- Using household scissors. They are not shaped for round, hard nails and can split or crush them. Use a tool made for dog nails.
Dull blades and sharpening
If a clipper squeezes or splinters the nail instead of slicing it, the blade is likely dull. Learning how to sharpen a dog nail clipper at home is not worth the chance of an uneven edge, so check the manufacturer's instructions for replacement or service, and retire the tool if the edge is damaged. Wipe blades clean after each use and store the clipper dry.
If you hit the quick
Stay calm. Press styptic powder or cornstarch onto the nail tip and hold the dog still for a moment. If bleeding continues or the nail looks damaged, call your veterinarian.
Field note
Trim a little, reward, and stop while your dog is still relaxed. Plan several short sessions rather than one long one.
Puppies and ongoing routine
You can begin handling puppy paws and introducing the clipper early, even before there is much to cut. Ask your veterinarian when to start actual trims and how short to go for your breed. Puppy and kitten nails are small, so use an opening or port sized for them.
If your dog's nails are very overgrown, thick or cracked, or the dog resists strongly, ask a veterinarian or groomer to help with the first trim, then maintain the length at home. For more grooming gear, browse our Grooming & Paw Care collection.