Pet Vacuum Grooming: How to Get Your Dog or Cat Used to It
Introduce a grooming vacuum in small steps: off, sniff, reward, then run it at a distance before any contact with the coat. Here is the full plan, with coat-by-coat technique.
Dana Whitfield
October 15, 2026 · 9 min read
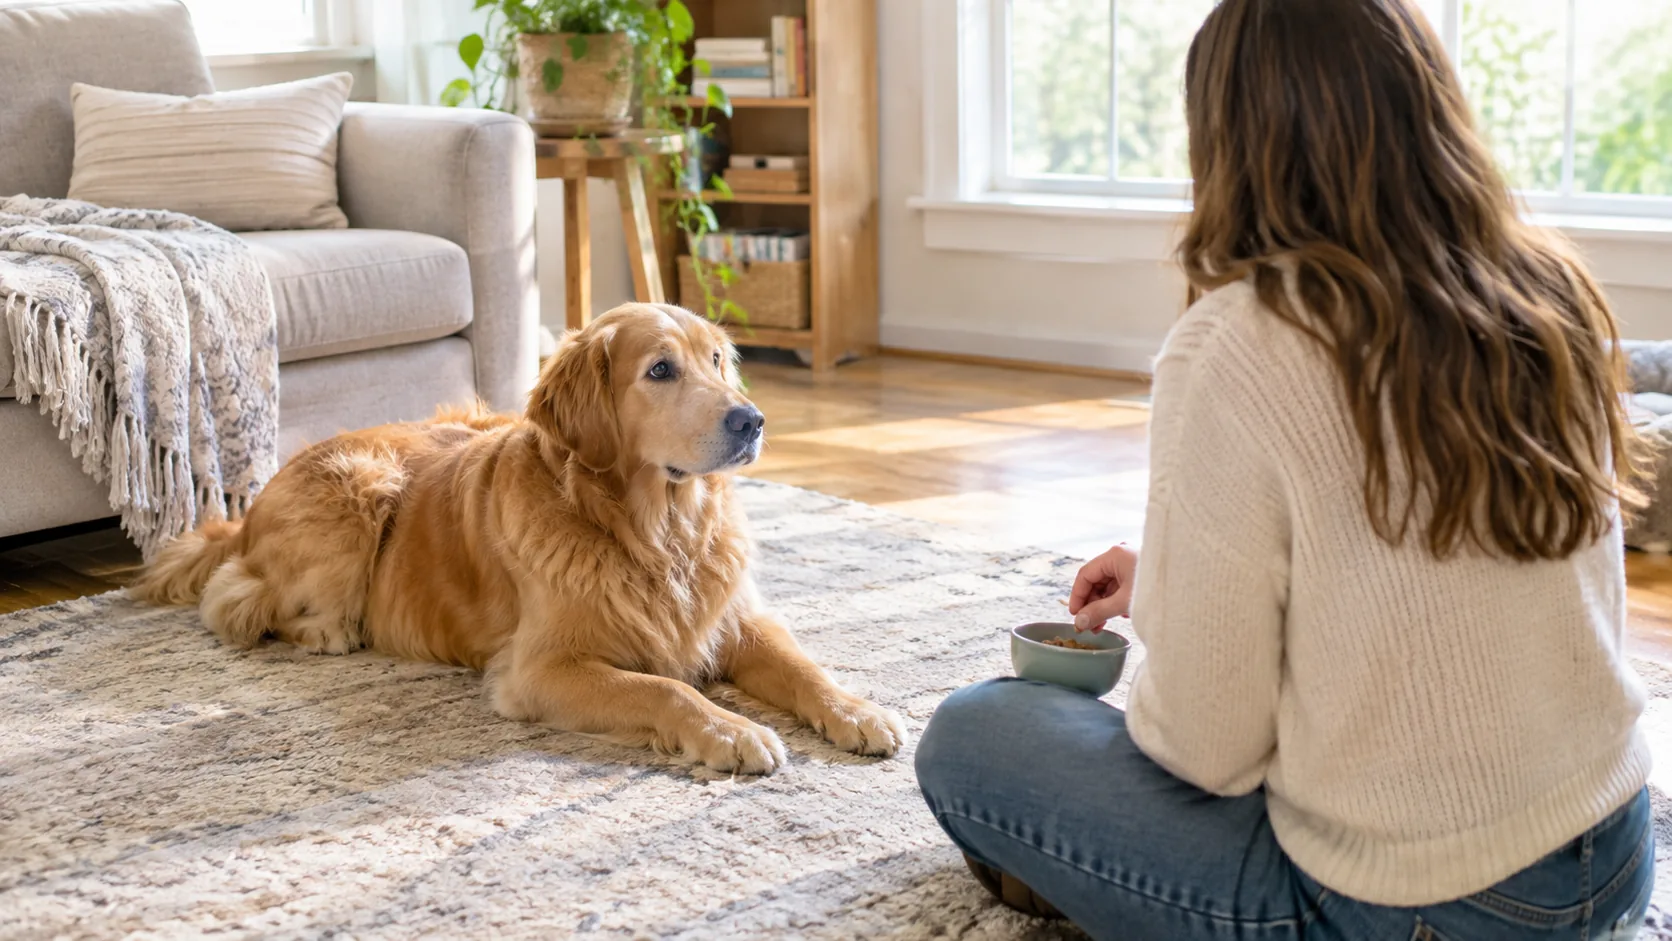
Pet vacuum grooming goes well when the pet meets the machine in stages: first switched off, then running at a distance, then touching the coat for a moment at a time. Pair every stage with a small food reward and stop the moment your dog or cat looks tense.
Taking the first sessions slowly gives your pet time to adjust. This guide gives you a step-by-step introduction plan, a coat-by-coat technique table, a look at where clippers fit in, and a care routine for the unit afterward.
Why pets react to a grooming vacuum
A grooming vacuum combines a motor sound, airflow and a tool that touches the body. Any one of those can be new and strange to a dog or cat. Many pets also already link household vacuums with something loud that chases dust across the floor.
That is why the plan below separates the three: sound first, then airflow, then contact. You only move to the next stage when your pet stays loose and curious at the current one. Reading body language is the whole skill.
What pet grooming with a vacuum does and does not do
A vacuum for pet grooming collects loose fur from the coat and from furniture while you glide a nozzle along the hair. It does not replace brushing, detangling, bathing or trimming. Think of it as the step that gathers shed hair so it ends up in a bin instead of on the sofa.
Signs your pet is not ready for the next step
- Ears pinned back or flattened against the head
- Tail tucked, or a cat's tail lashing
- Lip licking, yawning, or turning the head away
- Freezing in place, trembling, or trying to leave the room
- Refusing a food reward they normally take
If you see any of these, go back one stage. If the reaction is intense or keeps repeating, ask your veterinarian or a qualified animal behavior specialist for guidance before continuing.
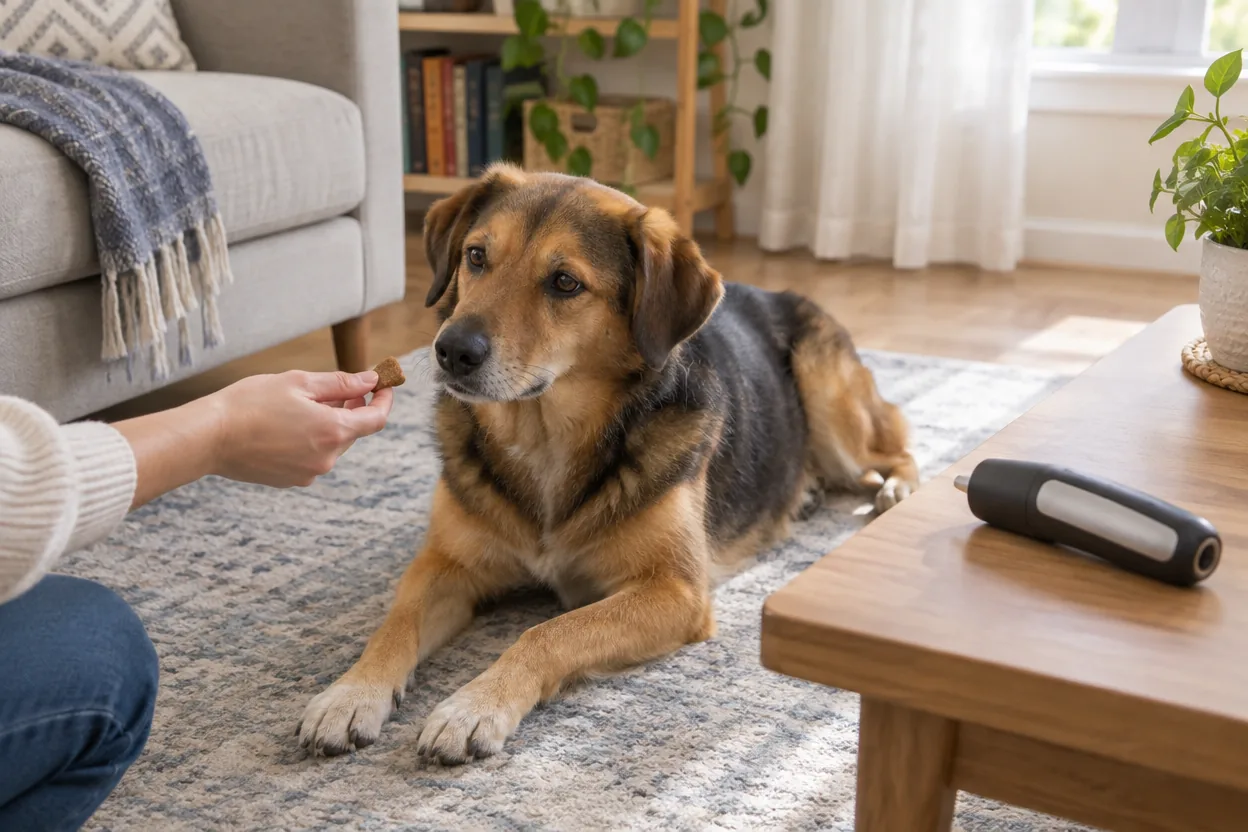
Before the first session: setup checklist
- Charge the unit fully so it does not stop partway through a session.
- Read the manual for your model, including where the nozzle and airflow should and should not be used.
- Brush first by hand to work out tangles and mats, or ask a groomer; a vacuum is for loose fur, not knots.
- Pick a familiar room with a non-slip surface and a clear exit so your pet can walk away.
- Prepare small rewards your pet loves, cut into tiny pieces.
- Choose a calm time, such as after exercise, not during mealtime or when visitors are over.
Have a towel, a brush and a comb within reach too. Setting everything out beforehand lets you stay with your pet for the whole session.
Pet vacuum grooming step by step: the introduction plan
Plan on several days, or longer for sensitive pets. Keep each practice round short and end while your pet is still relaxed. There is no deadline; the pace is set by your pet. The same stage-by-stage logic drives our remote collar dog training introduction plan, if you want to see it applied to another tool.
| Stage | What you do | Move on when |
|---|---|---|
| 1. Meet it off | Unit on the floor, pet sniffs, you reward calm looks | Pet walks past it without interest |
| 2. Handle it | Hold it, touch the off nozzle to the shoulder | Pet accepts the touch and takes a reward |
| 3. Sound far away | Run it in another room while pet eats or plays | Pet keeps eating or playing |
| 4. Sound nearby | Run it close, pointed away, no contact | Body stays loose, ears relaxed |
| 5. First touches | Brief nozzle contact on shoulder or upper back | Pet stays put for a few slow strokes |
| 6. Short sessions | Work along back and sides with the lay of the fur | Routine feels familiar to both of you |
Stage 1: Meet it switched off
Place the unit on the floor a few feet away. Let your pet sniff it on their own terms. Reward any calm look or approach. Do this over a few separate rounds until your pet walks past it without interest.
Stage 2: Hold it and handle it
Pick the unit up and move it around while off. Touch the nozzle gently to your own hand, then rest the switched-off nozzle against your pet's shoulder or back for a moment. Reward right away.
Stage 3: Sound at a distance
Switch the unit on in another room or at the far end of a room while your pet eats a reward or plays. Then switch it off. Repeat, moving a little closer each round only if your pet stays relaxed. Note whether your unit runs at one pitch or changes tone, and practice with the sound your pet will actually hear.
Stage 4: Sound nearby, no contact
Run the unit while you hold it a short distance from your pet, pointed away. Keep rewarding, and turn it off before your pet shows stress, not after.
Stage 5: First touches
With the unit running, bring the nozzle to the coat on a sturdy area such as the shoulder or upper back, touch for a moment, then lift away and reward. Build up gradually to a few slow strokes.
Stage 6: Full short grooming sessions
Work along the back and sides in the direction the fur lies. Stop before your pet loses interest, and finish with something enjoyable such as play or a chew.
Field note
Let your pet end the early sessions. If your dog or cat walks away, switch the unit off, let them go, and try again later at the previous stage. Letting your pet leave keeps the sessions low-pressure.
Pet hair vacuum grooming by coat type
The same unit is used differently on different coats. Most grooming vacuums are used by gliding the nozzle over the coat, so technique matters more than force. Use this table as a starting point and follow your manual.
| Coat type | How to approach it | Watch for |
|---|---|---|
| Short, smooth (Beagle, Boxer, many shorthair cats) | Long, slow strokes with the lay of the fur. Suits a regular maintenance pass. | Thin spots on the skin; keep the nozzle gliding rather than pressed down. |
| Double coat (Husky, Retriever, Shepherd) | Brush the undercoat loose first, then glide the nozzle in sections to collect what comes free. | Long sessions; split into sections across several days. |
| Long or silky (Setter, Persian, Maine Coon) | Detangle fully by hand first. Then use light strokes along the length of the hair. | Hair being drawn toward the nozzle; keep feathering and tail hair clear. |
| Curly or wool-type (Poodle types) | Brush through thoroughly first; use the vacuum only on loose, brushed-out hair. | Mats near the skin; these need a brush, comb or a groomer. |
| Wire or rough coat | Short sections in the direction of growth after brushing. | Sensitive spots along the belly and legs. |
Cats need an even slower start
Cats usually prefer to be in control of the space. Let your cat sit on a lap, a perch they like or a towel, and begin with the shoulders and back. Skip the belly, face and tail until your cat is clearly relaxed with the rest. For more on setting up your cat's space at home, see our guide to cat scratcher posts.
Areas to avoid
Keep the nozzle away from the face, eyes, ears, paws, tail base and genitals. Do not use it on irritated, broken or sore skin. If you notice redness, lumps or bald patches while grooming, stop and ask a veterinarian.
Choosing a grooming vacuum for a noise-sensitive pet
No unit makes the sound disappear, so compare the features that affect how you introduce it, how it handles and how it cleans up.
- Cordless design: no cord to snag on your pet or pull across the floor.
- Pitch: check whether the unit runs at a single, consistent pitch or changes tone, so you can practice with the same sound every time.
- Sealed bin: collected fur stays inside until you empty it.
- Washable filter: rinse and reuse.
- Simple controls: fewer buttons mean fewer surprises mid-session.
The ZephyrGroom is a cordless pet grooming vacuum with an 8-core cyclone motor, a 4000mAh battery, a sealed dust cup and a reusable filter you rinse under water. It runs at one steady pitch and has a single power button, so the introduction plan stays simple: let your pet sniff it while it is off, then try a short session.
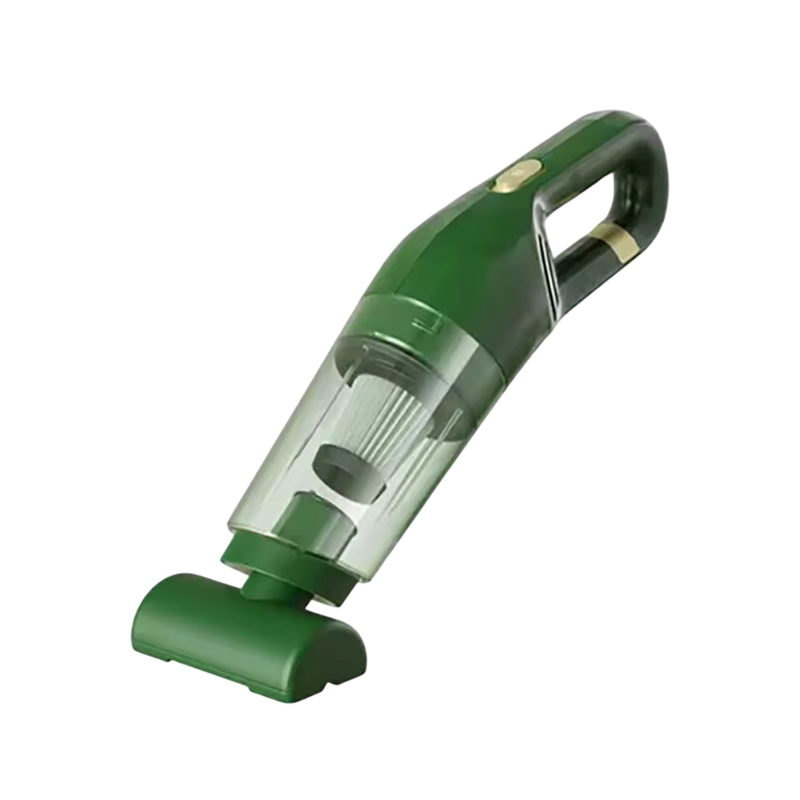 In this guideZephyrGroom$99.99View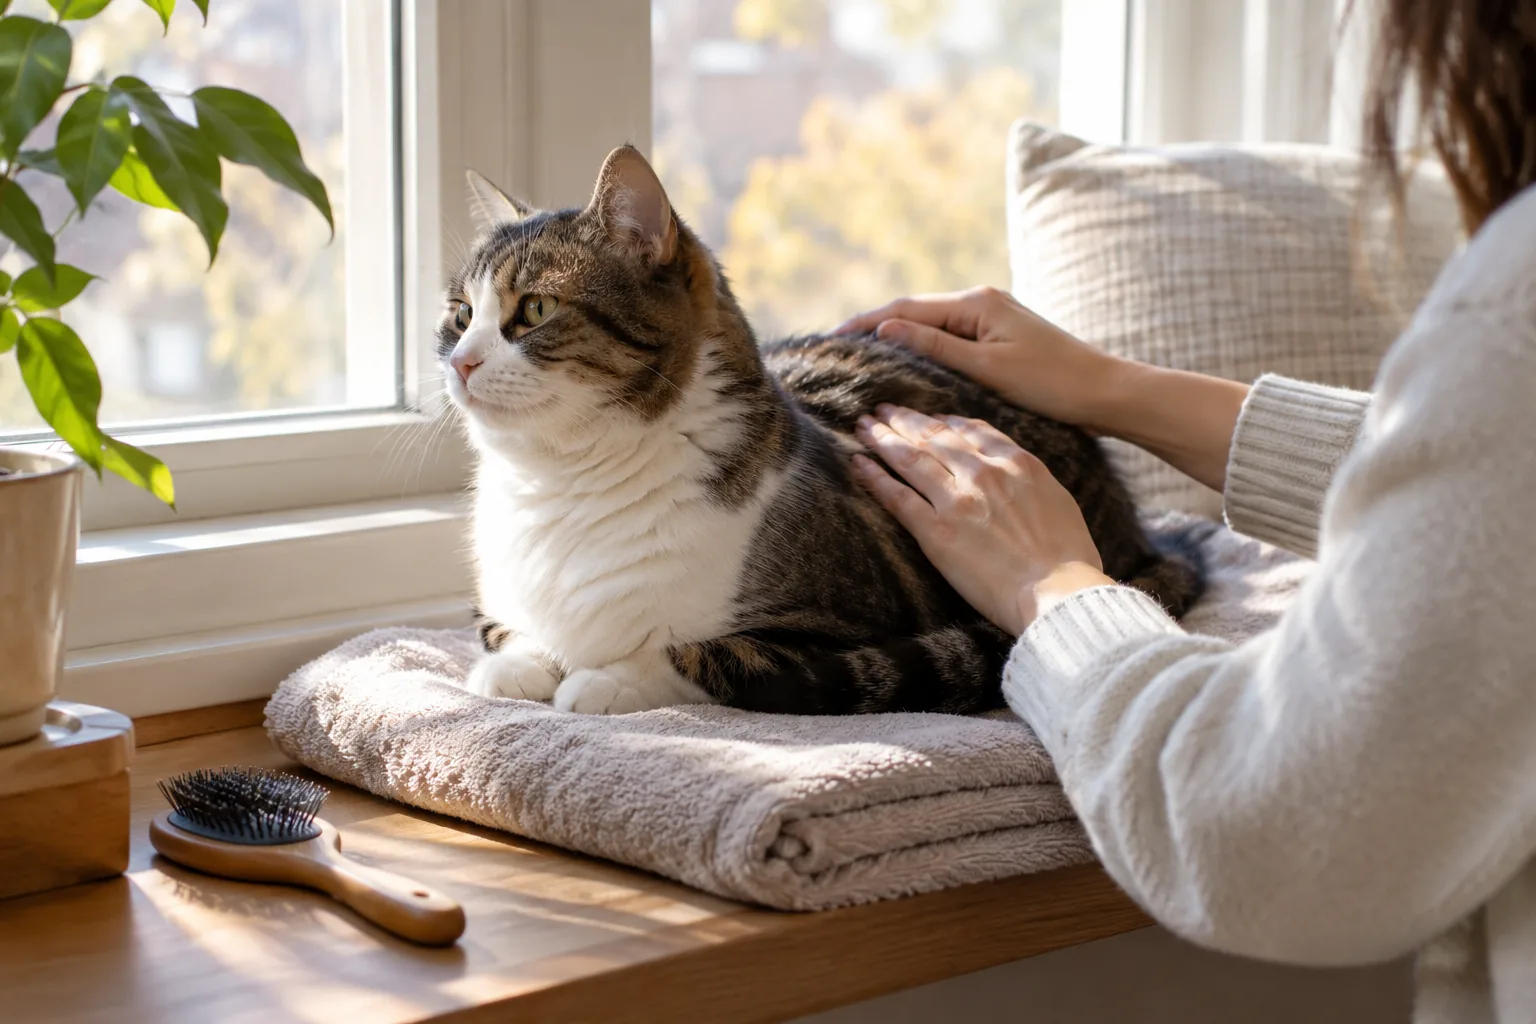
Technique once your pet accepts it, and where clippers fit
- Brush the area by hand to loosen fur and find tangles.
- Switch the unit on away from your pet, then bring it in.
- Glide the nozzle along the coat with the lay of the fur, using light contact.
- Keep one hand on your pet, and keep the nozzle moving instead of holding it in one spot.
- Pause often, offer a reward, and check the skin and coat.
- Switch the unit off before you set it down.
Short, frequent sessions generally suit a nervous pet better than one long grooming day.
Trimming before you vacuum
If the coat needs a tidy-up first, pet hair clippers for dogs and cats handle that job; the vacuum then gathers the clipped and loose hair. TrimVelvet is a cordless clipper with a copper-core motor and steel blades with a curved R-shaped edge, which follows the body around paws, ears and the muzzle. You choose a length with one of four blade positions or one of the four guide combs (3mm, 6mm, 10mm and 12mm).
An LED display shows the battery level and an oil reminder, and a cleaning brush and USB charging cable come in the box. Introduce any clipper with the same off, sniff, reward, distance sequence, and ask a groomer if you are unsure how short to go on your pet's coat.
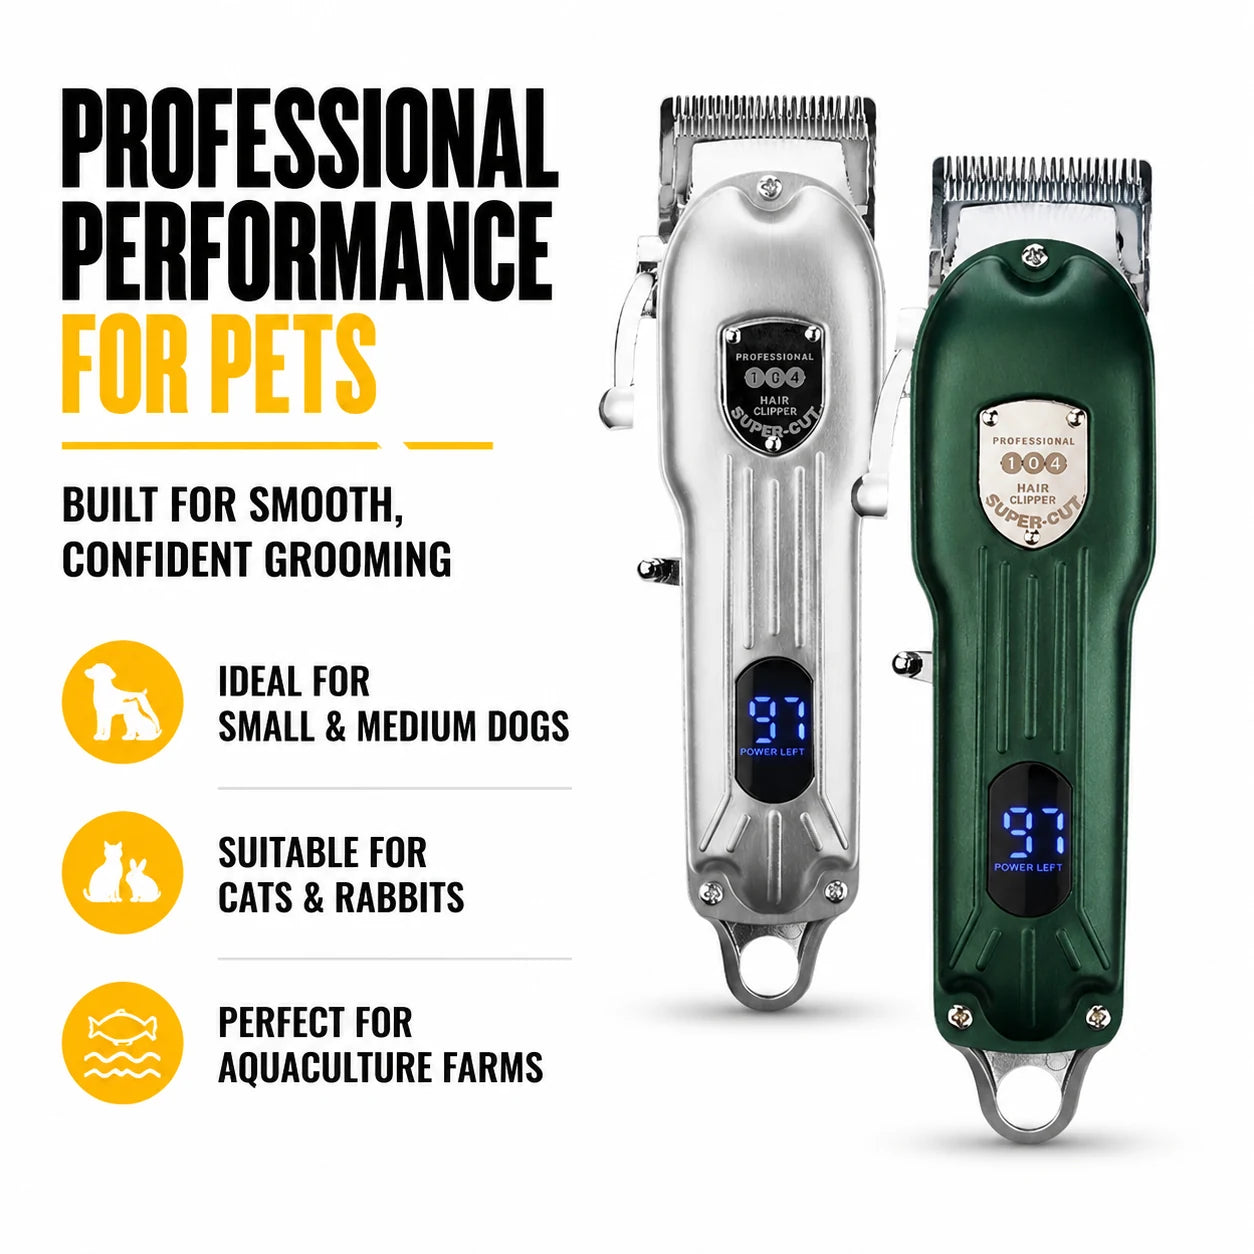 In this guideTrimVelvet$99.99View
Common mistakes to avoid
- Skipping the off-stage: starting with the unit running next to the pet can create a fear response.
- Chasing the pet: if your pet runs, end the session calmly, because following them adds to the fear.
- Vacuuming over mats: mats need to be worked out by a brush, comb or groomer, not drawn at with suction.
- Forgetting rewards: the goal is a pet who links the sound with something good.
- Holding the nozzle still: keep it gliding over the coat.
- Using it on a wet coat: check your manual and groom a dry coat.
- Rushing the stages: skipping ahead after one good round often sets you back a step.
Keep a short note after each session: which stage you reached, how your pet looked, and what you will repeat next time. It makes progress easy to see.
Field note
Charge the unit before every session and keep your pet's rewards in a pocket. Fumbling for either mid-session is when nervous pets decide to leave.
Care routine after each session
A clean, ready unit keeps pet vacuum grooming sessions short and predictable.
| When | What to do |
|---|---|
| After every session | Switch off, twist off the dust cup, and tap the fur into the trash. |
| Regularly | Rinse the reusable filter under water and let it dry fully before the next session. |
| Before storing | Wipe the nozzle, check the bin is empty and recharge as the manual advises. |
Store the unit out of your pet's reach, and out of sight between sessions if your pet is still wary. Unplug or switch off any charger before wiping the unit, and follow the manual for cleaning.
Vacuuming is one part of a coat routine. A quick look at the ears, paws and nails while your pet is relaxed makes the whole grooming session feel familiar, and a groomer or veterinarian can take over anything that looks off. Once the steps above feel routine, pet vacuum grooming becomes a short, calm habit. For more tools to pair with it, browse our Grooming & Paw Care collection.