How to Use a Dog Nail Grinder, Plus Grinder vs Clippers
Charge the grinder, pick the right port and speed, let your dog sniff it, then grind in short passes and stop before the quick. Includes an anxious-dog plan and a grinder vs clipper table.
Dana Whitfield
October 17, 2026 · 9 min read
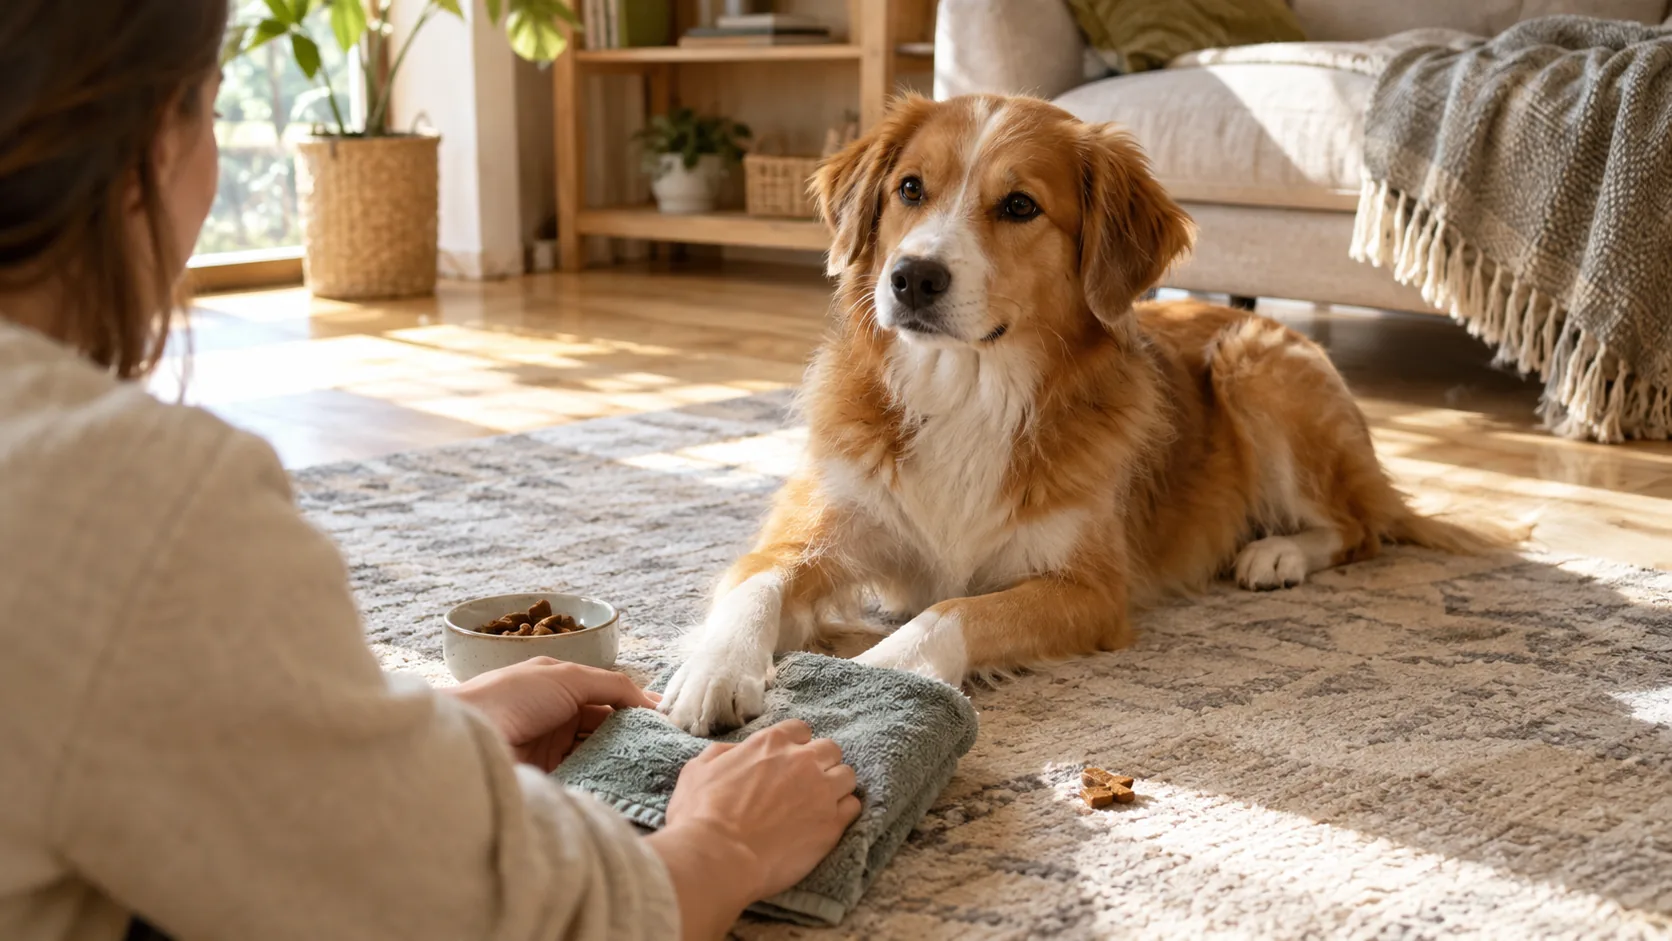
To learn how to use a dog nail grinder, start with the basics: charge it, pick the port that fits the nail, choose a low speed, and let your dog get used to the tool before it touches a nail. Then hold the paw steady and grind in short, light passes, one thin layer at a time, stopping before you reach the quick. Go slowly, praise often, and end the session if your dog is tense.
This guide walks through the full grinding process, a gradual plan for anxious dogs, how to read dark nails, and when clippers are the better choice.
What a nail grinder does and when it fits
A nail grinder is a small rotary tool with an abrasive head that wears the nail down in thin layers instead of cutting it in one stroke. Removing a little at a time lets you stop and check after each pass, and grinding tends to leave a rounded tip rather than a cut edge.
Grinders suit dogs with thick nails, dogs that dislike the snap of clippers, and owners who feel nervous about a single cut. They ask for more patience, though. The tool spins, buzzes, and gives off a little dust, so most dogs need an introduction first. If you are comparing a dog nail grinder seen on TV with other models, look at the head, the port sizes, and the speed settings.
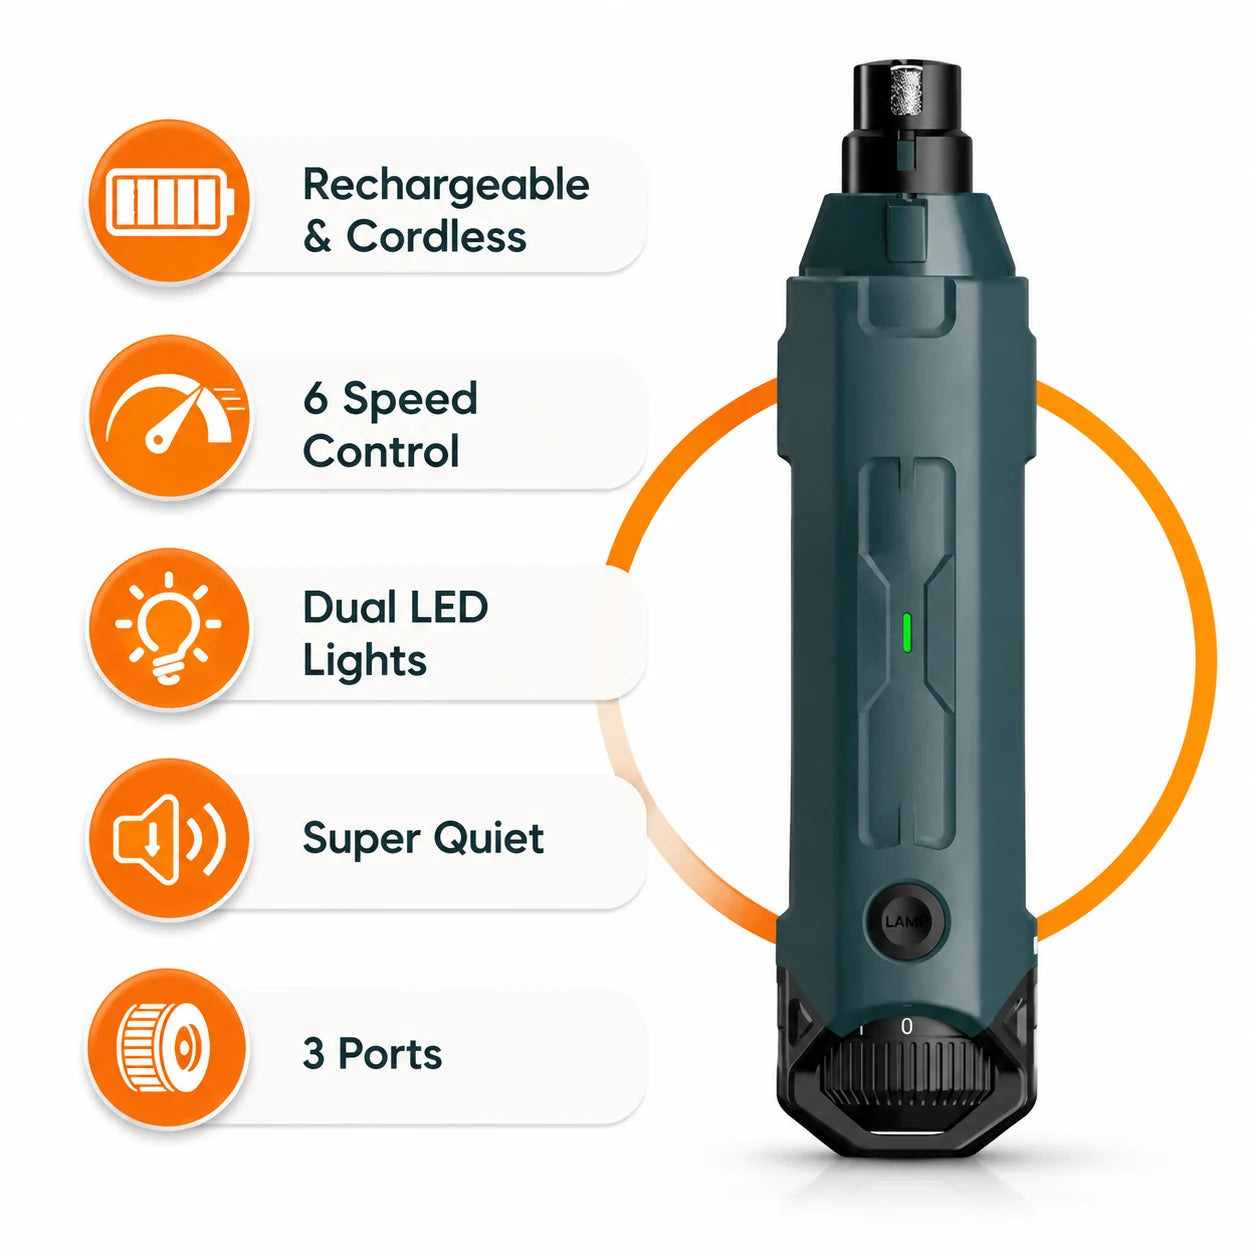
The PawHush is a rechargeable dog nail grinder with a diamond grinding head, USB-C charging, and six speed settings from 7,000 to 12,000 RPM. Dual LEDs light the nail while you work, and three ports in S, M and L sizes guide different nail widths.
 In this guidePawHush$89.99View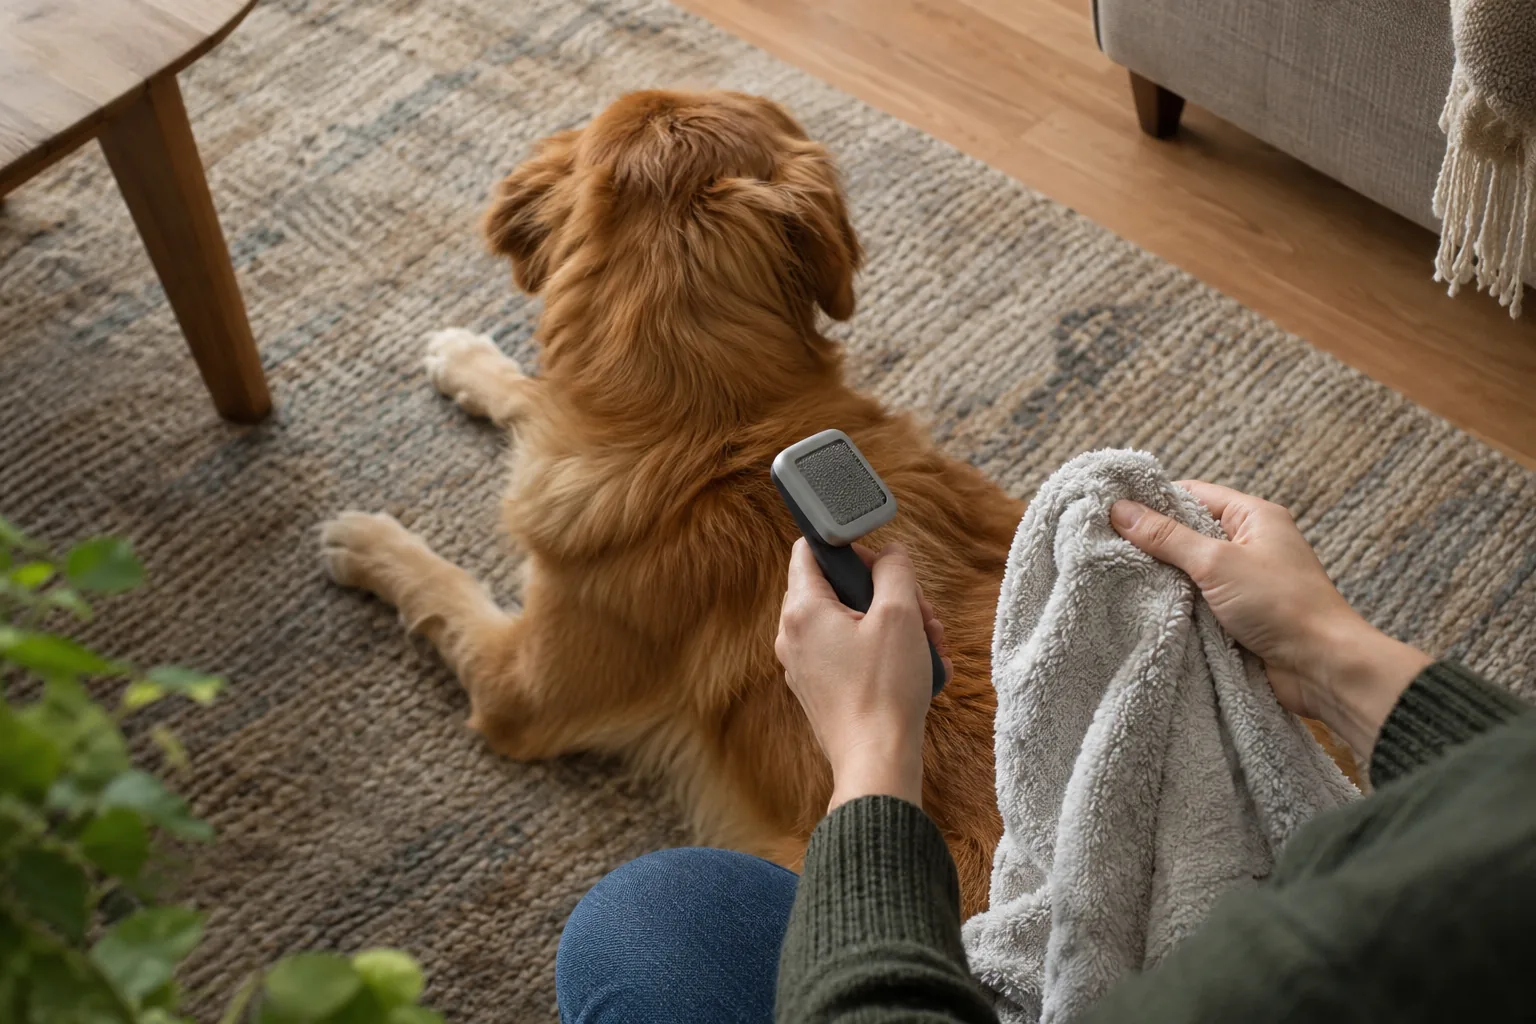
How to use a dog nail grinder, step by step
Before you start
- Charge the grinder until the indicator light turns solid.
- Gather small food rewards, a towel, and styptic powder in case a nail bleeds.
- Pick a well-lit spot and a time when your dog is calm, such as after a walk.
- Read the manual for your model, including how to attach the head and any guard or cap. The PawHush comes with a dust deflection cap and a quick-start guide.
The grinding routine
- Match the port to the nail. With the PawHush, S is for puppies and cats, M for medium breeds, and L for thick large-breed nails. The port guides the nail so it meets the head at a consistent spot.
- Choose a speed. The PawHush guide pairs 7,000 RPM with puppies and seniors, 9,000 to 10,000 with medium dogs, and 12,000 with thick large-breed nails. When in doubt, start lower.
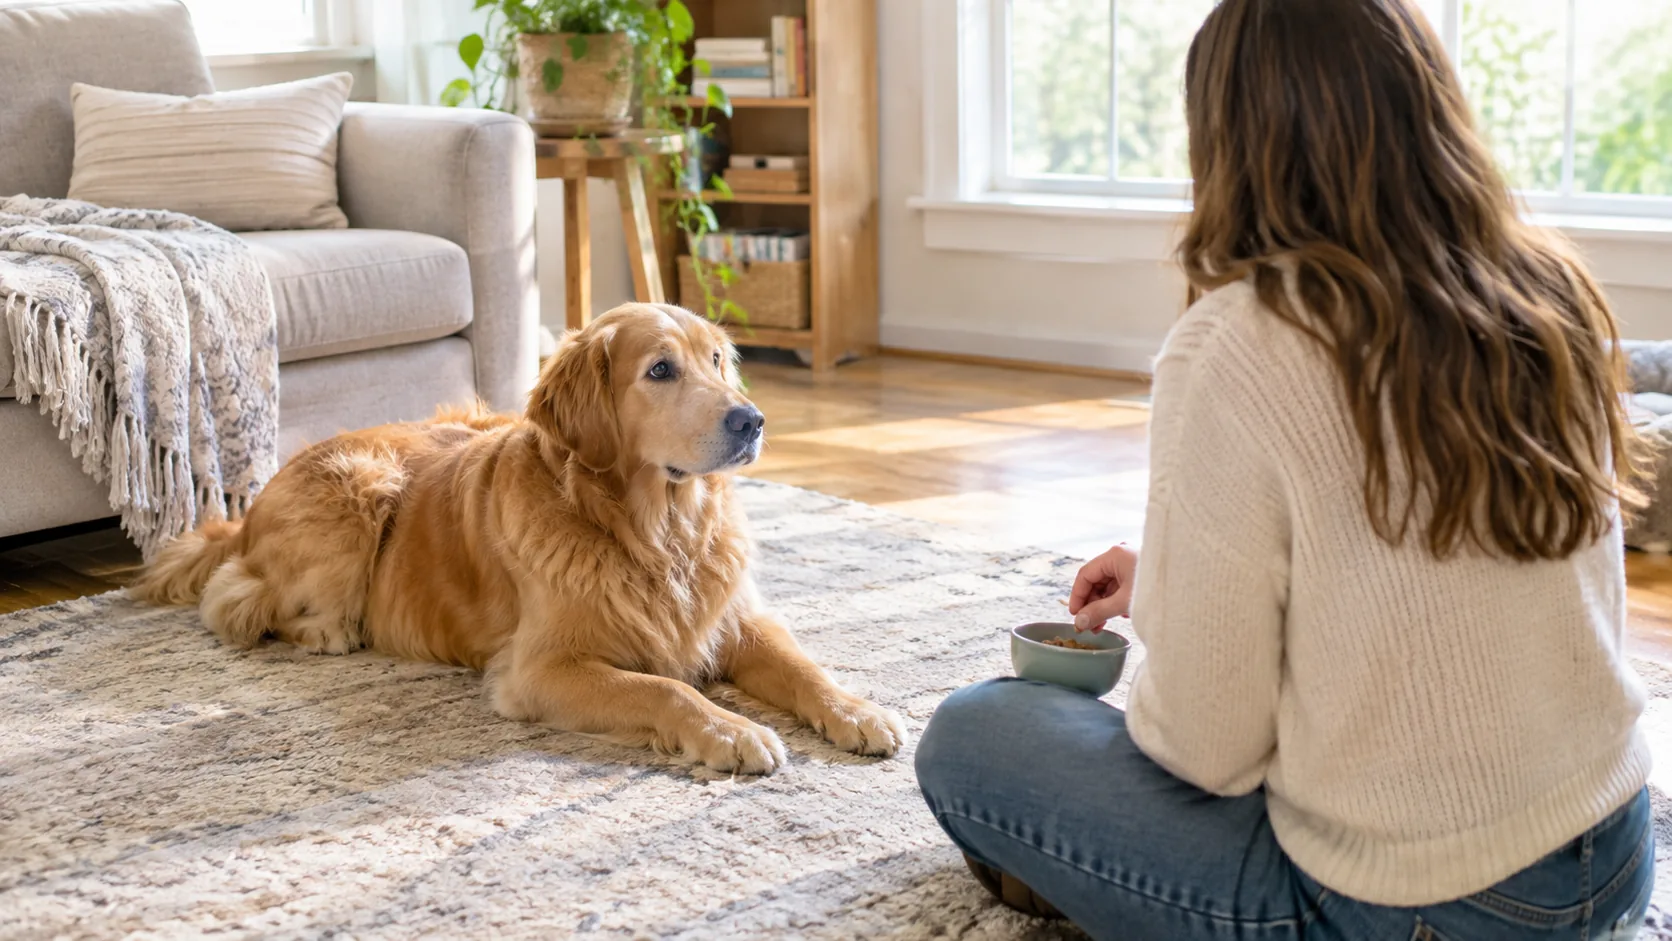
- Let your dog meet the tool. Turn the grinder on across the room, let your dog sniff it, and give rewards. Move closer in stages.
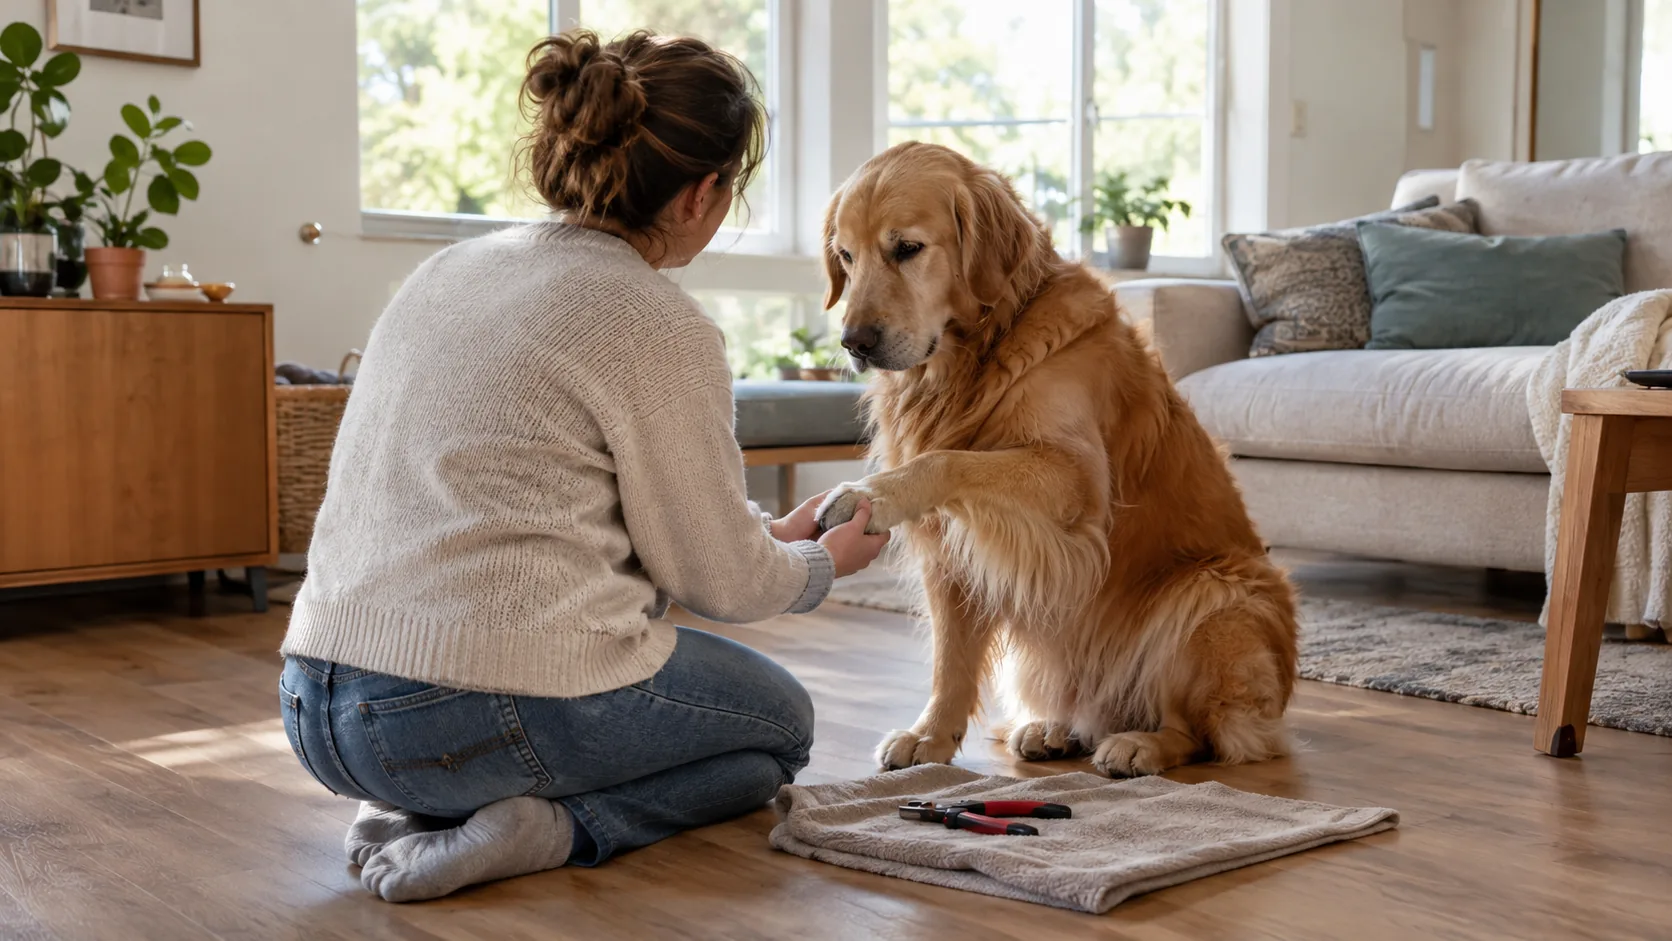
- Practice paw handling. Hold the paw firmly but gently, and separate one toe at a time. Keep fur clear of the head so it cannot wind around it.
- Hold the grinder like a pen, with a relaxed grip, and switch on the light. The dual LEDs shine on the nail so you can see its shape and color as you decide where to stop.
- Touch the nail in short passes. Bring the head to the nail tip, lift, and look. Work from the tip and sides, rounding the edge. Pause between passes so the head and nail do not get warm.
- Stop before the quick. If you see a change in the center of the nail (see the dark nails section below), stop on that nail.
- Finish with praise and treats. Do a nail or two in early sessions, then work toward a full paw, then all four.
Field note
Press lightly and keep the grinder moving. Holding the head in one spot builds up heat and removes too much at once. Short touches with a look between each are the habit to build.
Dewclaws and the final check
Dewclaws are the nails higher on the inside of the leg. They do not wear down on walks, so include them each session with the same light passes. Use the smallest port that fits, and keep your grip steady, since they sit close to the leg.
When you finish, run a finger along each nail edge to check for rough spots, and compare the nails on each paw. Look at how they sit when your dog stands. Then give a last round of praise and a food reward so the session ends well.
A plan for anxious dogs who dislike the grinder
Knowing how to use a dog nail grinder includes knowing how to introduce it. Dogs often react to the buzz and the feel of vibration on a paw, not to the nail itself. The fix is to split the job into small steps and move on only when your dog stays loose and interested. If your dog stiffens, pulls away, or stops taking rewards, go back one step.
The PawHush includes an introduction plan card that follows this same gradual idea. The stages below work with any grinder. For a similar approach with another tool, see how to get your dog or cat used to a pet vacuum.
| Stage | What you do | Move on when |
|---|---|---|
| 1. Presence | Leave the switched-off grinder on the floor. Reward when your dog sniffs it. | Your dog ignores it or approaches it calmly. |
| 2. Sound | Turn the grinder on across the room while your dog eats rewards. | Your dog keeps eating and stays relaxed. |
| 3. Closer sound | Run it a little nearer in each session. | Your dog stays loose with it beside them. |
| 4. Touch the body | Touch the running tool to a shoulder, then a leg, with a reward after. | Your dog accepts the vibration. |
| 5. Touch a nail | One brief touch on one nail, then reward and stop. | Your dog stays calm for a single nail. |
| 6. Full paw | Grind several nails in short passes with breaks. | Your dog tolerates a full paw, then all four. |
Keep sessions short and take little breaks, especially in the early weeks. Do not rush stages to finish a whole set of nails in one sitting. Between sessions, practice paw handling on its own: touch and hold each paw, then reward. If your dog stays fearful or reacts strongly, ask a veterinarian or a qualified dog trainer for guidance.
Finding the quick on dark nails
The quick is the living part of the nail that holds nerves and blood vessels. On clear or white nails you can often see it as a pink quick inside the nail. On dogs with dark nails you cannot, so grinding in thin layers matters even more.
- Use bright light. Shine a light on the nail from the side and from the tip. The PawHush's dual LEDs are there to help you see the nail itself, including on dark nails.
- Check the end of the nail. Look at the ground surface after each pass. Near the quick, the center can look darker, softer, or moister than the outer nail. That is your cue to stop.
- Look at the underside. Turn the paw and check the hollow under the tip. The more solid the nail looks, the more room you have.
- Take a little at a time. A conservative grind that you repeat later is a sounder habit than one deep pass.
- Watch your dog. A flinch, a yelp, or a sudden pull away means stop that nail.
If a nail does bleed, apply styptic powder as directed on its label, keep your dog calm, and call a veterinarian if bleeding continues or you are unsure.
Dog nail grinder vs clippers: how to decide
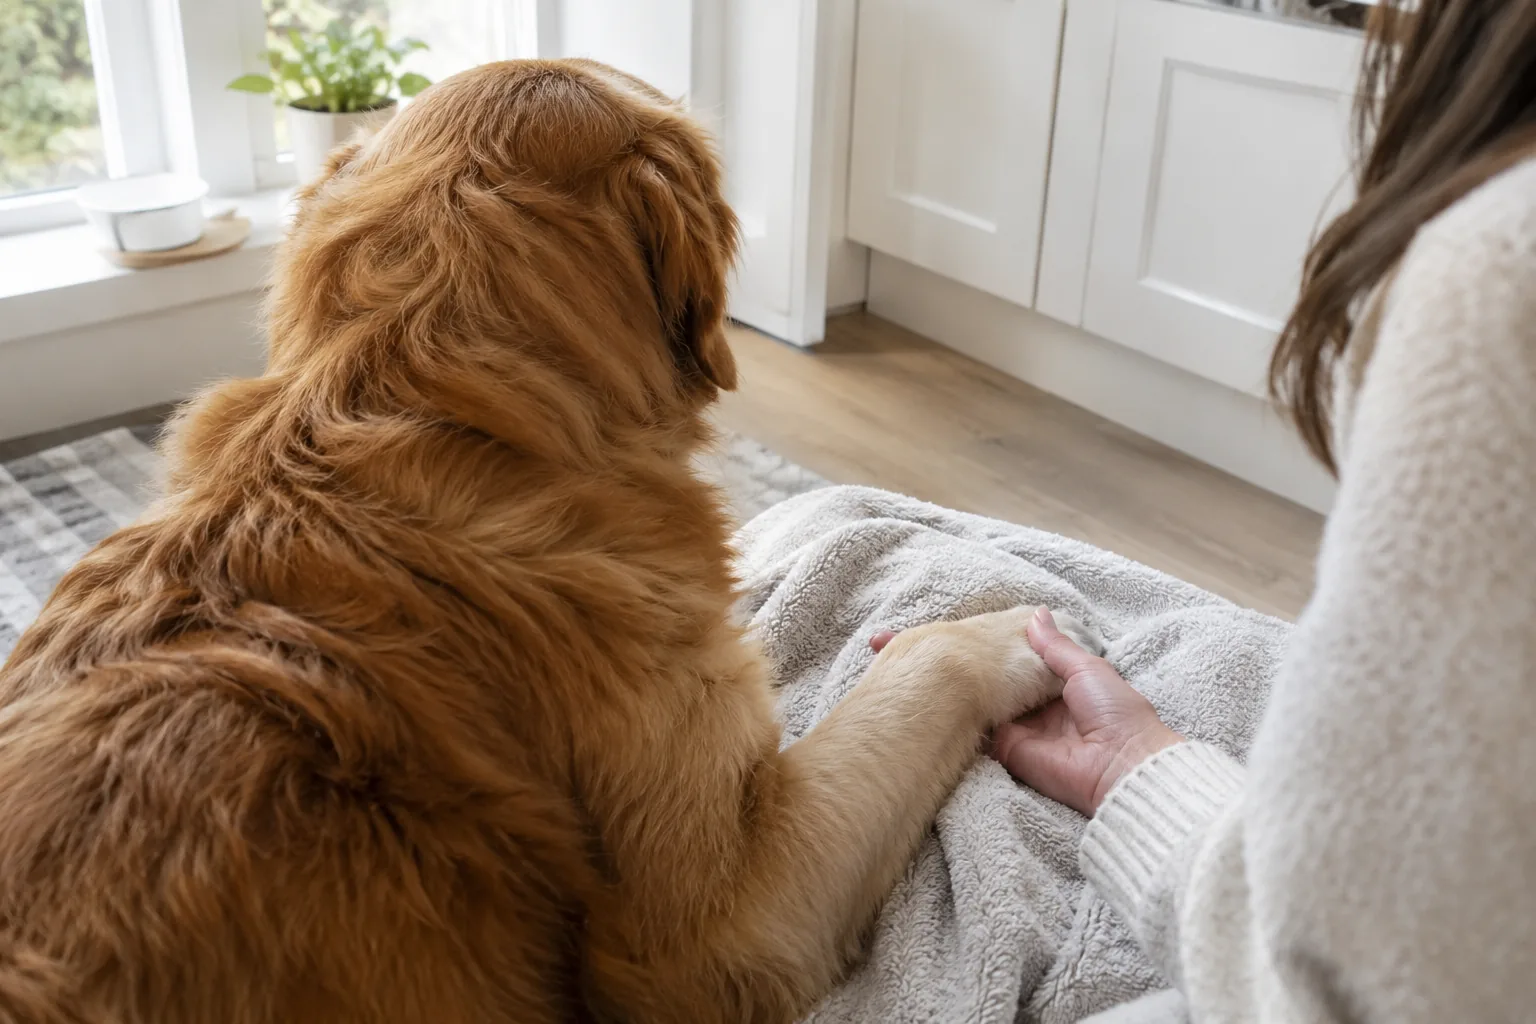
The dog nail clippers vs grinder question usually comes down to whether it is better to cut or grind. Both work when used carefully, and the choice depends on your dog's nails, temperament, and your own comfort. Below is a side-by-side look. If you choose clippers, our guide on using a dog nail clipper without hitting the quick covers technique.
| Factor | Grinder | Clippers |
|---|---|---|
| How it works | Wears the nail down gradually | Cuts the nail in one squeeze |
| Control near the quick | Thin layers, easy to stop and check | Each cut is final, so placement matters |
| Dog's reaction | Buzz and vibration can worry some dogs | Squeeze and snap can worry some dogs |
| Thick nails | Needs a suitable head and speed | Needs an opening that fits the nail |
| Finish | Rounded tip | May need filing |
| Setup | Needs charging and a gradual introduction | Ready to use, easy to carry |
| Dust and hair | Makes dust; long hair needs to be held back | Little mess |
Which should you pick?
- Choose a grinder if your dog has thick nails, you like going slowly, or your dog dislikes the snap of clippers.
- Choose clippers if your dog is frightened by buzzing, you want a tool to carry easily, or you have a small dog or cat.
- Keep both if your household has pets of different sizes, or if you want to shorten with clippers and smooth with a grinder.
The PreciTrim is a hand-operated clipper with an adjustable aperture dial for cat and dog nail sizes, a clear guard so you can view the nail while you position it, and a nail file built into the handle. Its curved, non-slip grip is shaped for one-handed squeezing.
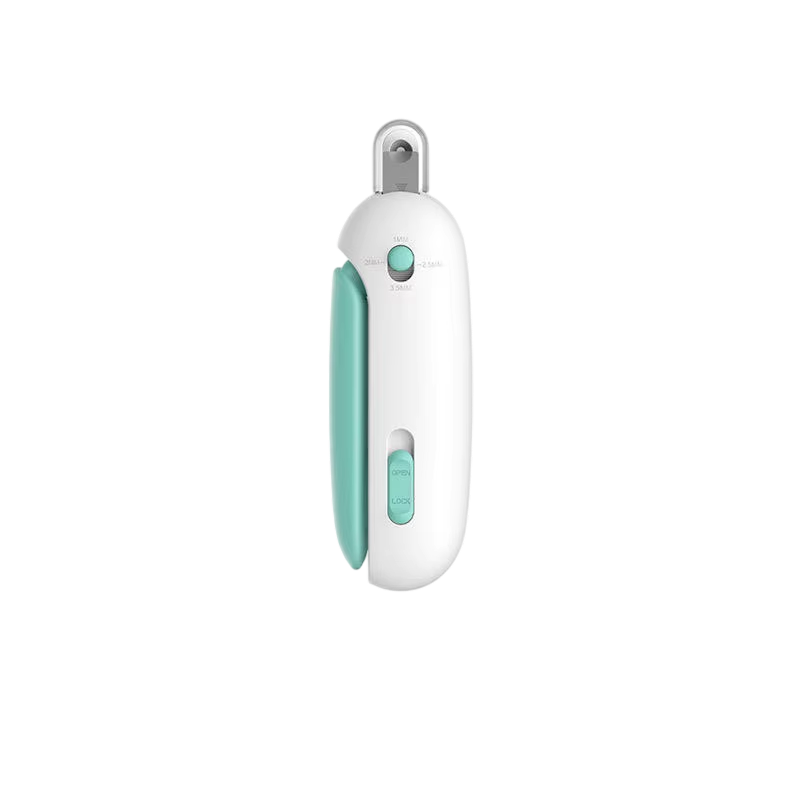 In this guidePreciTrim$69.99View
How often to grind, and mistakes to avoid
There is no single schedule for every dog. Nail growth, activity, and the surfaces your dog walks on all matter, so regular nail maintenance works better than a fixed date. A practical check is to listen for clicking on hard floors and look at whether the nails touch the ground when your dog stands. When they do, it is time for a light session.
Short, regular nail trims are gentler on both of you than one long session after a long gap. Ask a veterinarian if you are unsure how short your dog's nails should be.
Common mistakes
- Skipping the introduction. Starting on a nail before your dog has met the sound often sets the process back.
- Using a high speed too soon. Begin on the low setting and raise it only if the nail needs it.
- Staying in one spot. Keep the head moving and pause to let it cool.
- Letting hair near the head. Hold fur and any feathering back before you turn the grinder on.
- Trying to finish in one go. A few good nails are better than a stressful full set.
- Ignoring the manual. Cleaning, charging, and head care differ by model, so follow yours, and unplug the charger before cleaning.
Care for the grinder
After each session, switch the grinder off, let it cool, and wipe away nail dust as the manual directs. Check that the head is attached firmly and the port is clean before the next use. Store it with the charging cable somewhere your dog cannot reach.
Once you know how to use a dog nail grinder and how your dog reacts, a calm routine makes it easier to trim your dog's nails at home. For more tools and supplies, browse the Grooming & Paw Care collection.