Insulating an Outdoor Cat House for Winter, Step by Step
Insulating an outdoor cat house comes down to a dry, snug interior, a raised floor and straw instead of blankets. This guide compares materials and gives a winterizing checklist.

Dana Whitfield
October 14, 2026 · 9 min read
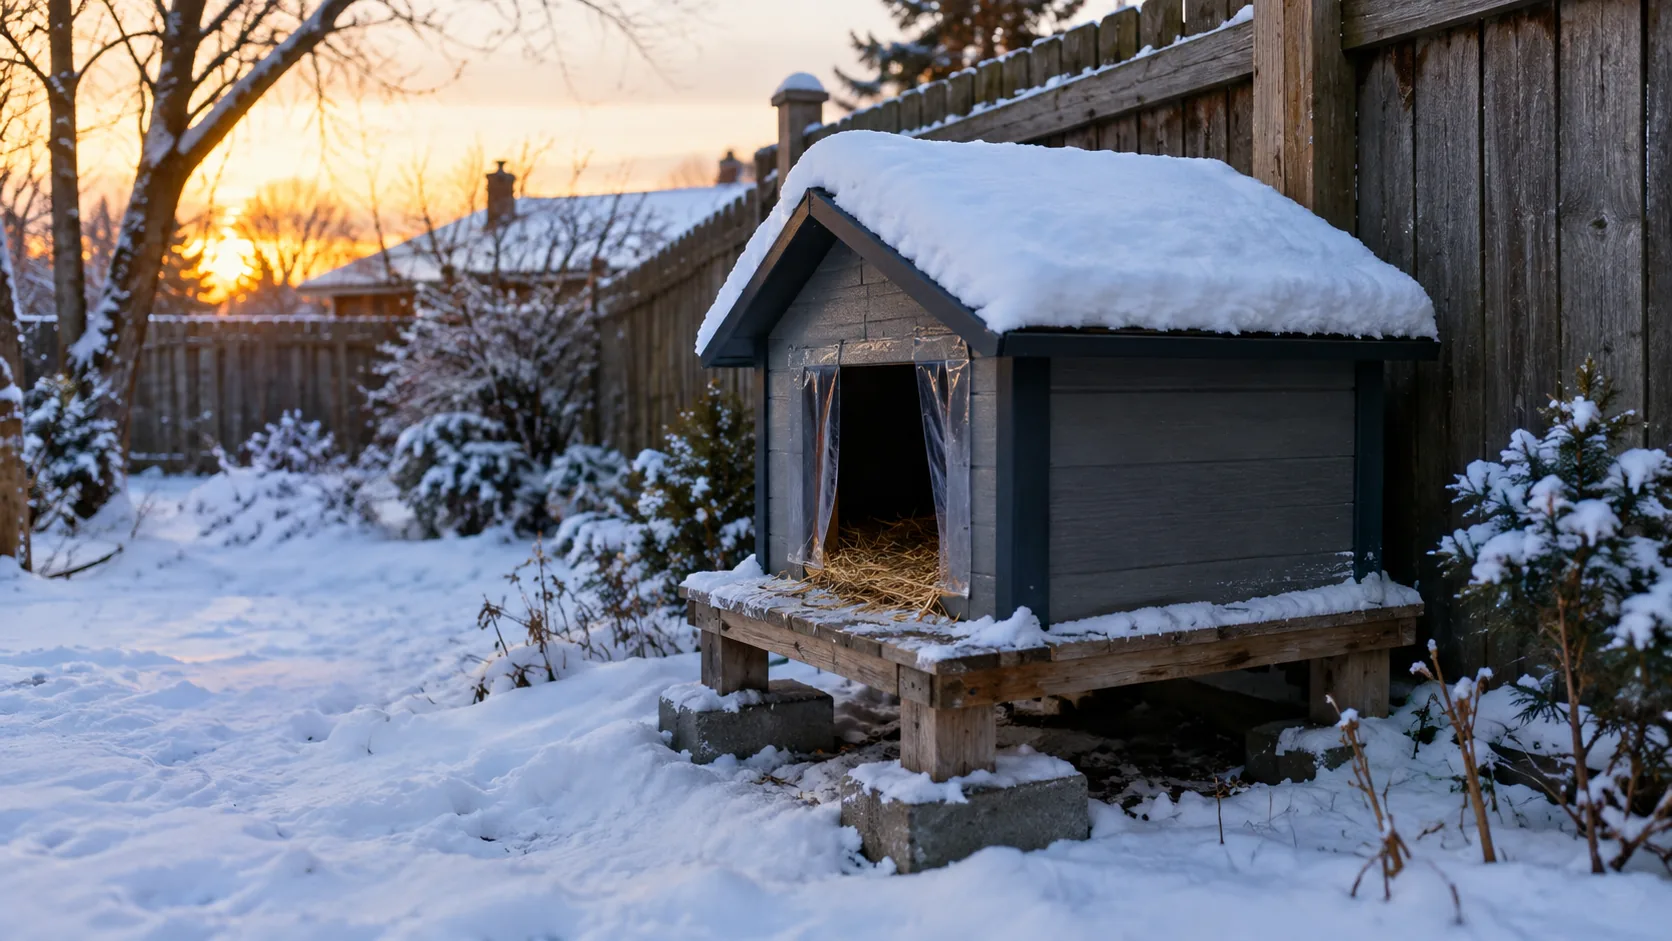
Insulating an outdoor cat house works when you do three things: lift the floor off the ground, line the walls, ceiling and floor with rigid foam, and fill the inside with dry straw. Skip blankets and hay, which hold moisture and turn damp. Keep the space small so a cat's own body heat fills it, and leave an escape route.
This guide compares the common materials, walks through a DIY build and a winterizing checklist, and covers heat options with the precautions that go with them. It applies whether you are making a homemade shelter from a storage tote or upgrading a ready-made one.
Start With How a Cat House Loses Warmth
A shelter loses warmth in three ways: through the floor into cold ground, through thin walls and roof, and through a large or drafty doorway. Moisture makes every one of those worse, because damp bedding and damp walls pull warmth away from a cat. The goal is a warm, dry space that holds the heat a cat already produces.
So the job has four parts: raise the floor, insulate the shell, shrink the air space, and keep everything dry. Any material you add should help with at least one of those.
Size matters more than most people expect
A big, roomy box is harder for a cat to warm than a snug one. Aim for a space where one or two cats can sit or lie down and turn around, with little extra headroom. A snug interior lets body heat collect instead of drifting off into empty air.
Straw vs Blankets vs Foam: Insulation Materials Compared
Each material does a different job. Foam and reflective board insulate the shell. Straw is the filling inside. Blankets, towels and hay are what most people reach for first, and they cause trouble outdoors. This table summarizes outdoor cat house insulation choices.
| Material | Where it goes | Strengths | Watch out for |
|---|---|---|---|
| Dry straw | Loose fill inside the house | Hollow stems shed moisture instead of soaking it up, and cats can burrow into it | Needs fresh handfuls when it gets matted or damp |
| Hay | Not advised | Looks similar to straw | Holds moisture and can mold; it is a feed, not a bedding |
| Blankets and towels | Not advised outdoors | Soft, easy to find | Absorb damp and stay wet; slow to dry in cold weather |
| Rigid foam board | Walls, roof and floor, cut to fit | Lightweight, easy to cut, holds its shape | Cats may scratch or chew exposed edges, so cover it with a solid inner wall |
| Foam cooler or foam box | Used as the shell or as an inner liner | Thick walls already formed, no cutting of the main body | Brittle edges can crumble; line the inside and cover the lid so cats cannot pick at it |
| Reflective insulation | Over walls and roof, ideally with a small air gap | Thin, adds little bulk | Meant to be layered with other materials, not used on its own |
| Cardboard box | Short-term emergency shelter only | Free and easy to find | Soaks up rain and snow and loses its shape |
| Loose foil emergency blankets, loose-fill or fiberglass insulation | Not advised | None for this use | Can be chewed, torn or swallowed; keep them out of reach |
Why is reflective insulation fine while foil blankets are not? Loose foil sheets can be chewed or torn and left in a cat's bedding. Reflective film that is sealed over foam and covered by a solid inner surface stays out of reach.
The short answer on straw
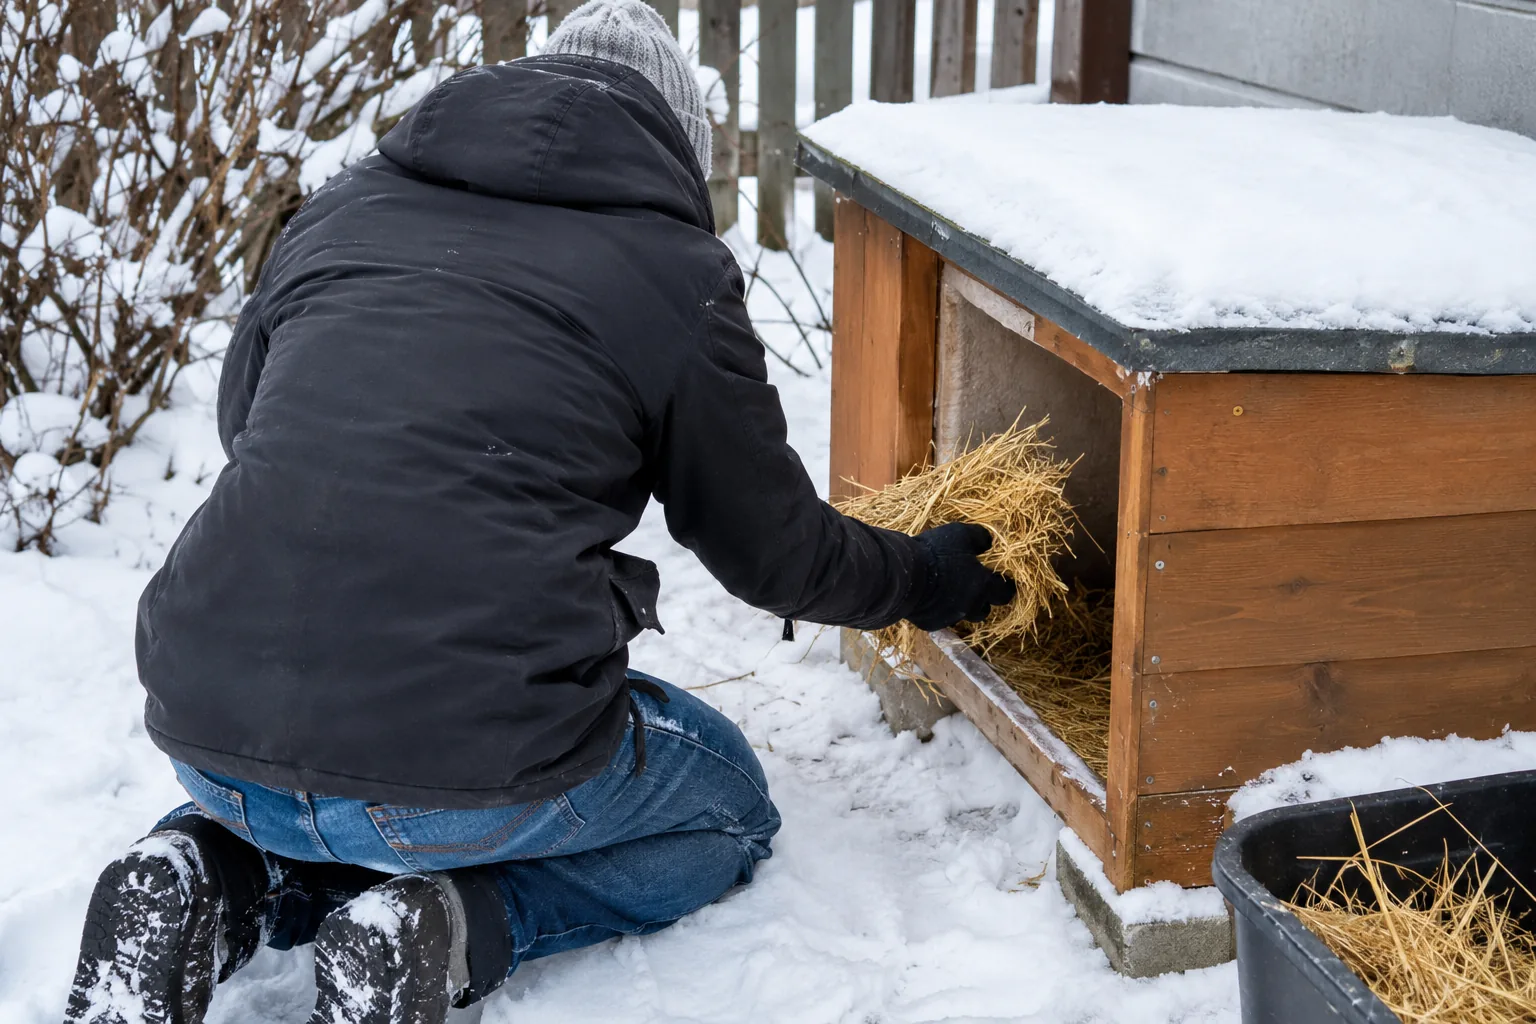
If you only change one thing, replace blankets with dry straw inside the house. Pack it loosely so the cat can make a nest, and keep it away from any heating element.
Using foam board
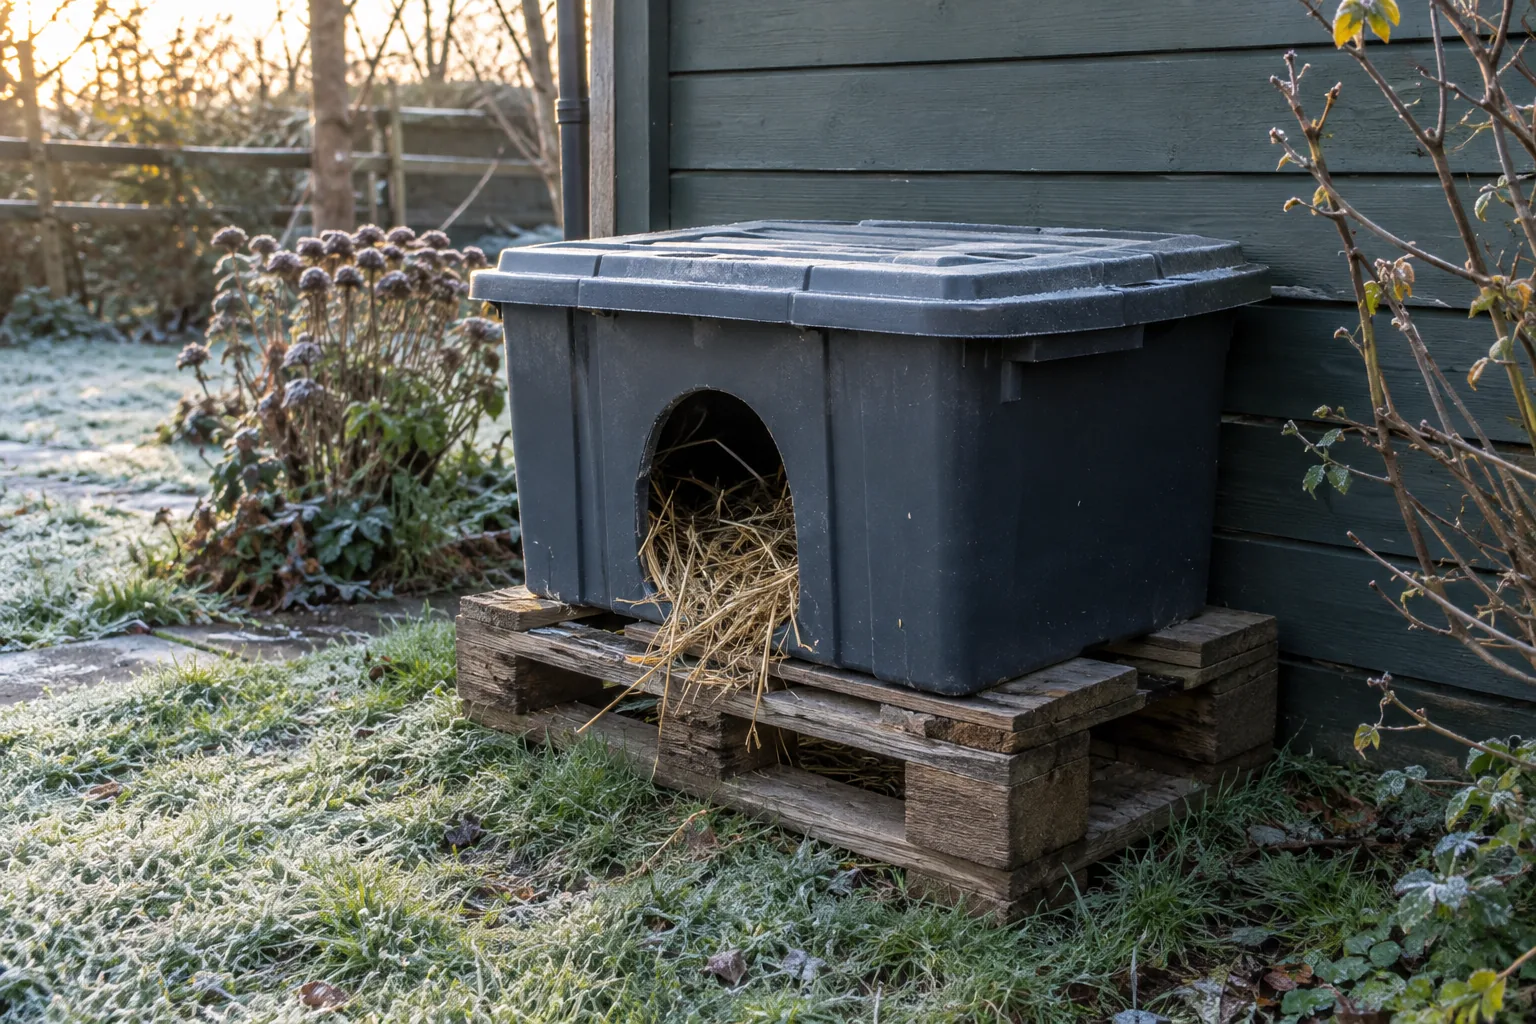
Rigid foam board is the usual choice for DIY shells. Use a thick piece, an inch thick or more, for the floor and ceiling especially. Cover the foam with a solid inner surface such as thin plywood or the tote wall itself, and tape every seam on the outside so no foam is exposed where a cat could pick at it.
Using reflective layers
Reflective film or foil-faced board is often layered over foam. It is meant to face an air gap, so do not press it flat against a cat's resting spot. Seal edges so nothing peels loose.
DIY Outdoor Cat House: Materials and Build Steps
A DIY outdoor cat house is a common project for community cat caretakers, and a tote-in-tote design needs few tools. The method below fits one or two cats.
What you will need
- Two plastic storage totes with lids, one that fits inside the other with a gap around it
- Rigid foam board, an inch thick or more
- A utility knife, a straightedge and strong tape
- Loose, dry straw
- Pallet slats, bricks or blocks to raise the base
Step-by-step instructions
- Cut foam panels to line the floor of the larger tote and the gap around the inner walls. Cut carefully with the utility knife and keep your free hand clear of the blade.
- Set the smaller tote inside the larger one so the foam sits between them, and add a foam panel between the two lids.
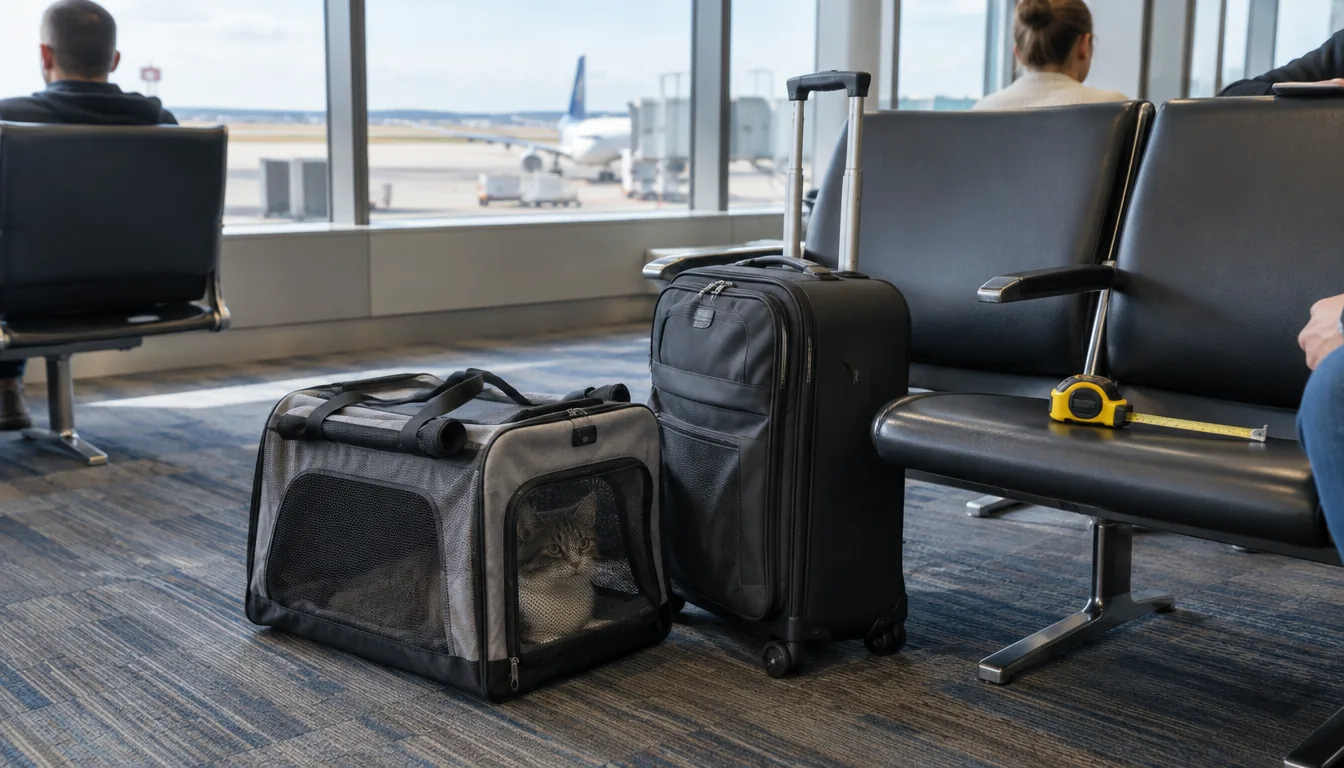
- Size the doorways. Measure across your cat's shoulders at the widest point and cut each opening only a little wider than that. Trace the circle first, then check it against the measurement before you cut.
- Cut two round doorways through both totes and the foam, on different sides if the tote allows, so a cat has a second way in or out. Sand or tape sharp plastic edges.
- Tape every seam on the outside and make sure no foam is visible from the inside.
- Put the house on its raised base with both doorways turned away from the prevailing wind, then fill the inner tote with straw without blocking either opening.
Winterizing Checklist: How to Winterize an Outdoor Cat Shelter
Work through these steps in order. They apply to a homemade box and to a store-bought house alike.
- Pick the spot. Choose a flat, sheltered place against a wall, shed or fence, out of prevailing wind and away from roof run-off. Near where the cats already eat is a good choice because it fits their routine.
- Raise the floor. Set the house on pallet slats, bricks or blocks so the floor does not touch soil, snow or pavement. Make sure it sits level and cannot tip.
- Insulate the floor first. The floor sits closest to cold ground, so give it a foam layer before the walls.
- Insulate walls and roof. Fit foam board, add a reflective layer if you like, and cover everything with a solid inner surface.
- Make the doorways small. Round openings just large enough for an adult cat leave less room for drafts. Point them away from the wind.
- Add a second exit. Two openings, or an escape flap, give a cat a second way in or out. That can matter for wary or feral cats.
- Add a door flap if you want one. A hanging flap of heavy vinyl blocks some wind, but secure it so it swings freely both ways. Introduce it with the flap pinned open first.
- Fill with dry straw. Pack a thick, loose layer on the floor.
- Shield the roof. Add a sloped, overhanging cover so rain and snow run off rather than soak in. Check that the lid stays on in wind.
- Plan the check-ups. See the care schedule below.
Ready-Made Option for Insulating an Outdoor Cat House
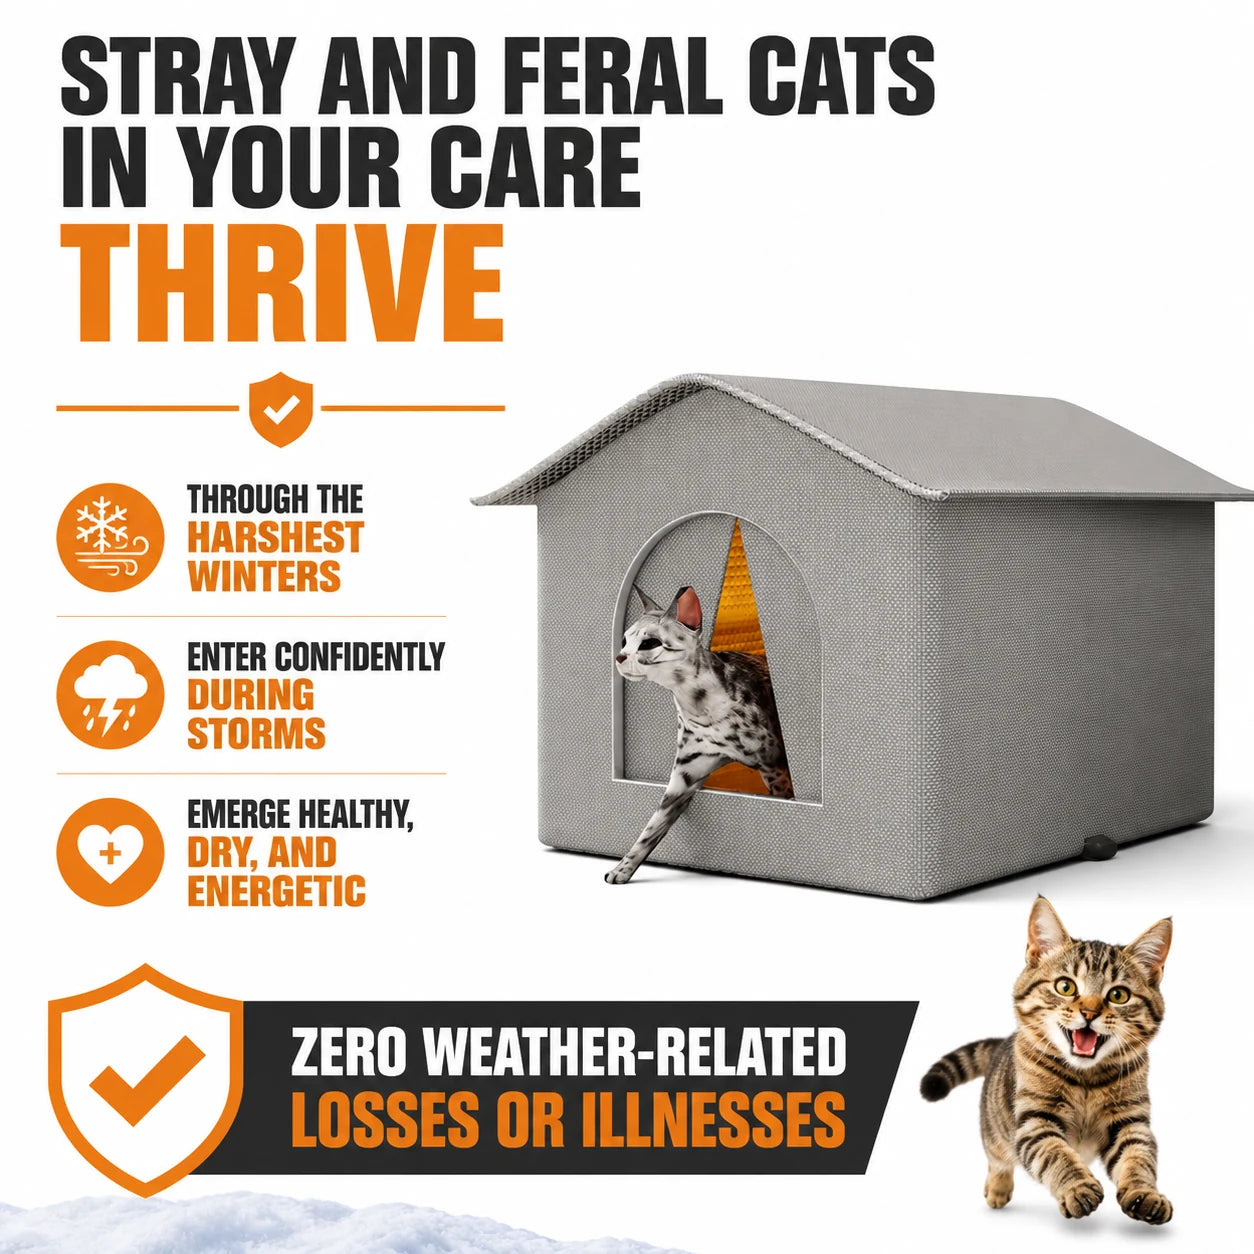
If you would rather not cut foam and seal seams, a ready-made cat house for outdoor cats skips those steps. WildCove is a cube-shaped shelter with high-density foam lining on the walls, ceiling and floor. An elevated base lifts the floor off the ground, and it has two entrance openings.
It comes with a removable insulated inner cushion, and the interior is sized for one to two adult cats. No tools are needed. Set it on a flat surface near where your cats already eat, fill the interior with dry straw, and leave both openings clear.
 In this guideWildCove$89.99View
Comparing other styles? Browse our beds and houses collection for more shelters.
Heat Options for an Outdoor Cat House in Winter
Insulation holds warmth that a cat produces. Added heat is optional, and it brings electrical risk outdoors, so choose carefully.
Pet-specific heated products
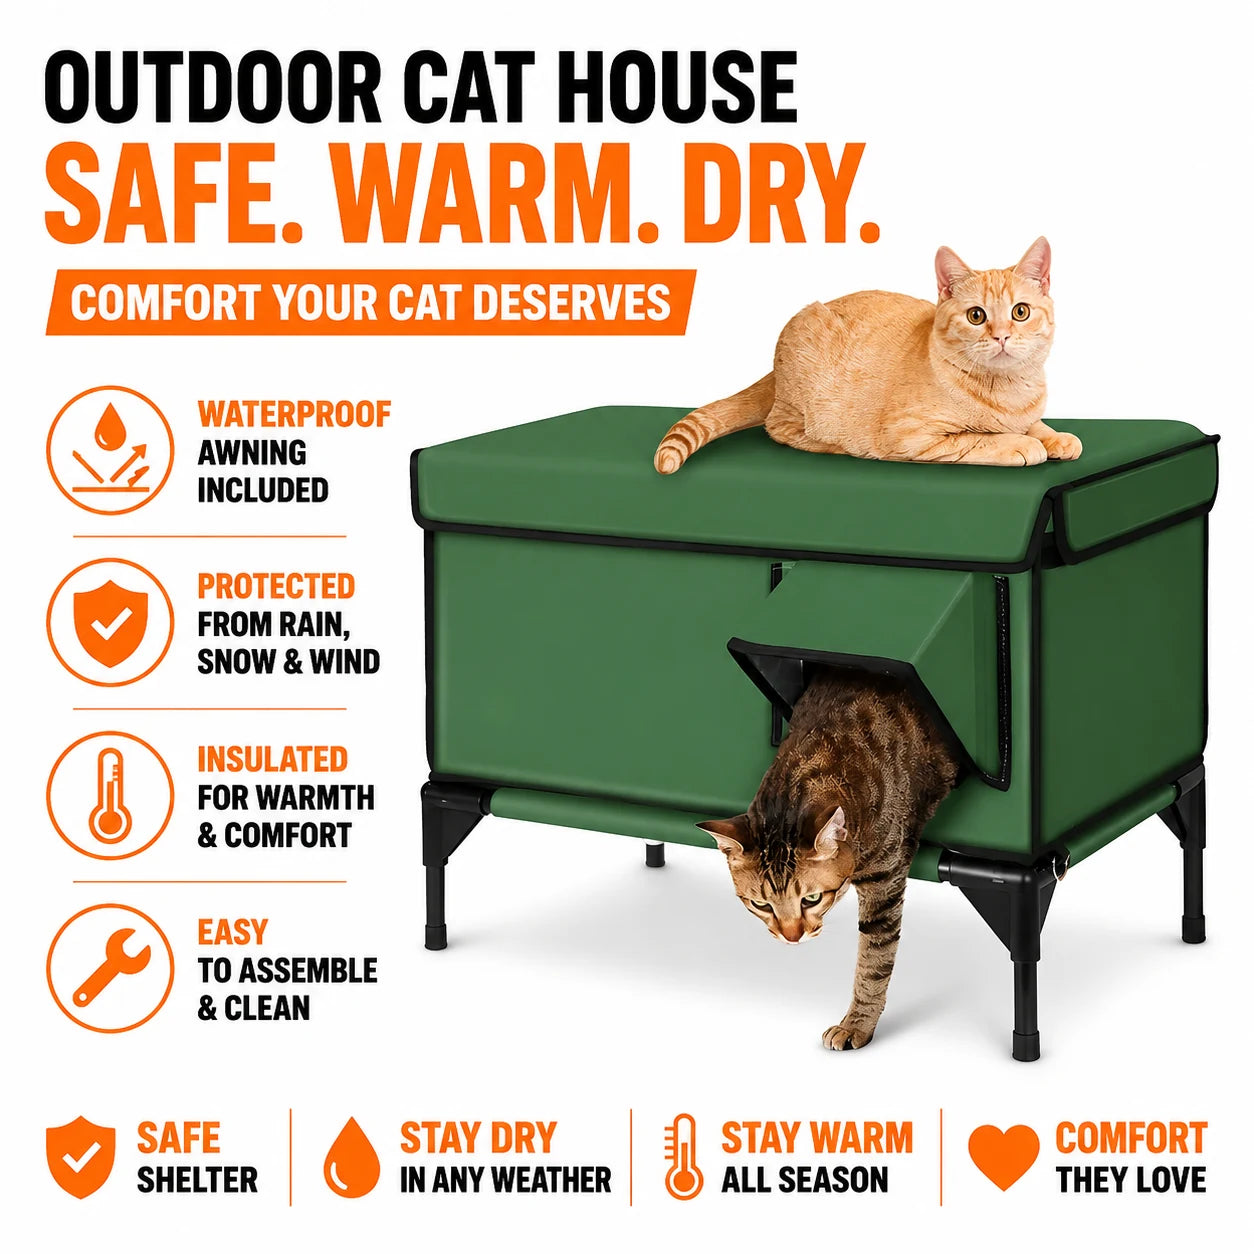
If you add heat, use a product made for pets and used as its manual describes. FelineVault is a heated outdoor cat house with six-sided foam and reflective insulation, two entry doors and a folding frame. Its 20W heating pad is thermostat controlled with nine heat settings, and the power plug includes a timing switch. It is staked down with the included floor nails and must sit within reach of an outlet.
 In this guideFelineVault$229.99View
Warmers that need extra care
Microwavable pet warmers and hot water bottles lose warmth over time, so they are a short-term supplement rather than a heat source. If you use one, follow its maker's directions and keep it and its cover dry.
What to avoid
- Heat lamps and space heaters. They are a fire concern around straw and bedding.
- Human heating pads and electric blankets. They are not built for outdoor, unattended pet use.
- Damaged or makeshift cords. Do not run a cord that is frayed, chewed or buried under bedding.
Power setup basics
Keep plugs and connections off the ground and out of snow or standing water. Use only extension cords made for outdoor use, and route cords where a cat cannot chew them. If you do not have a protected outdoor outlet, ask a licensed electrician to install one rather than improvising.
Field note
Check the manual of any heated product for its placement, cord and cleaning rules, and unplug it before you wipe it down or refill straw around it.
How Cold Is Too Cold for Cats Outside?
There is no single number that fits every cat. Age, coat, body condition, health and whether a cat has been outdoors for years all change how well it handles cold, wind and wet. Kittens, seniors and cats with health conditions need more care and a conversation about veterinary care before winter.
A cat that is not used to being outdoors should be kept as an indoor cat and brought in during severe weather. For a community cat or feral colony, offer shelter, keep food and water unfrozen, and ask a veterinarian or a local community-cat group about the right plan for your climate.
Care Schedule and Common Mistakes
Care schedule through the season
| When | What to do |
|---|---|
| Before the first cold spell | Place and level the house, add foam, check seams, fit a door flap if using one, fill with fresh straw |
| Weekly | Look at the straw; replace any that is damp or flattened. Clear snow from doorways and the roof |
| After heavy rain, snow or wind | Check for leaks, shifted lids and blocked openings |
| Weekly, if using heat | Unplug, then inspect the cord, plug and pad for damage; confirm the settings and timer |
| End of season | Remove old straw, wipe the house down, let it dry completely, and store it |
Common mistakes when insulating an outdoor cat house
- Using blankets or towels because they feel warm to your hand.
- Building a large, roomy house that is hard to warm.
- Putting the floor directly on the ground.
- Having only one opening and facing it into the wind.
- Leaving foam exposed where cats can chew it.
- Placing the house far from where the cats already feel at ease.